Easy and Fun Frozen Party for 5 Year Old

My daughter just turned 5, in our house Birthday Parties are BIG. When I was a little girl, my birthday was the most important holiday of the year for me. I loved that for one day, everything was all about me. My mom usually had a big party for me and my friends with different games and activities, yummy food and a big special cake that we made together. My birthdays memories are the happiest memories from my childhood. When it came to having my children’s birthday party, I knew that I wanted them to have the same special memories as I did.

This year when it came to selecting the theme of the party, Frozen was the number one pick.
At first, I was going to be Elsa and carry the party myself. After talking to my husband and realizing that he has to work the morning of the party, and I have to do everything, cleaning, cooking, decorating and planning a party, I realized that I should find help.
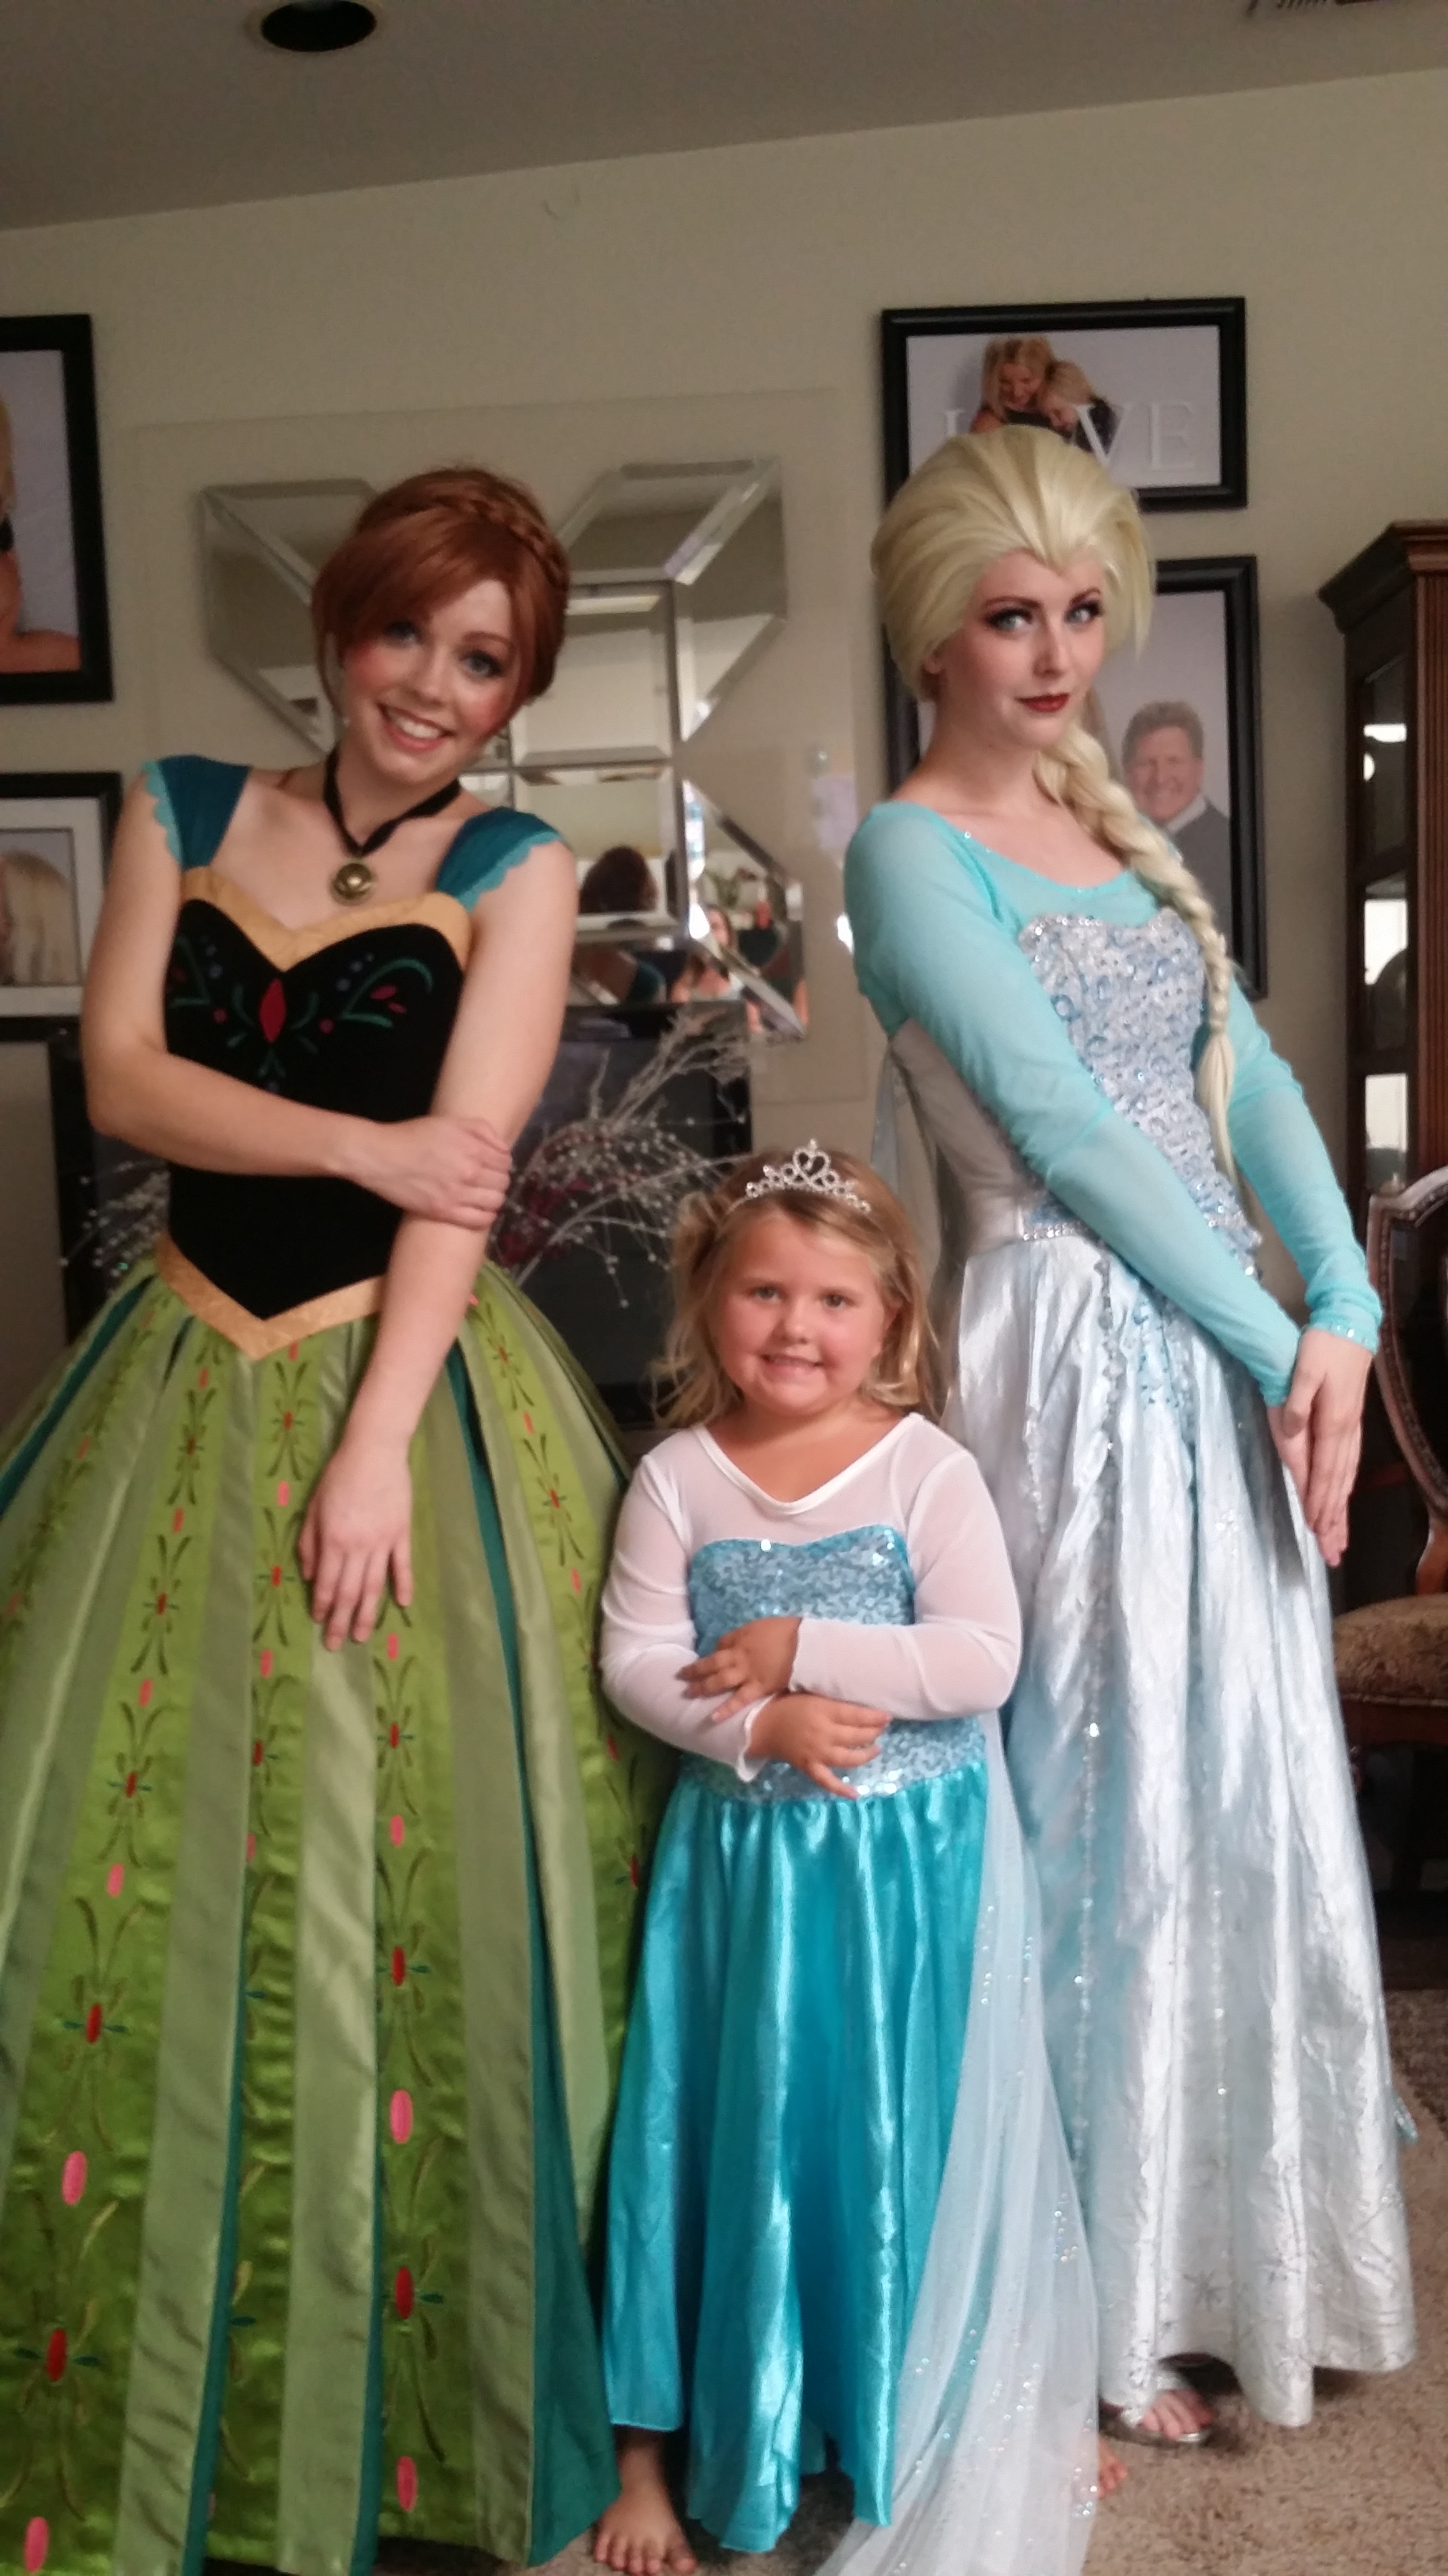
Right around that time, I saw a picture of someone that I knew on a facebook. A girl also was turning 5 and she had Frozen party with Princesses Anna and Elsa at the party. Until then, this idea hadn’t even crossed my mind. So, I started to look around to see if I could have the princesses coming to our party. To my surprise, it wasn’t too expensive, and the package that they offered was too much fun to pass up.
Once the entertainment was taken care off, I could relax and start thinking how to transform my house into a Winter Wonderland.
I did a lot of research, and to be honest, there is a lot of different Frozen decorations you can buy or download for free from the Internet. I was downloading some things when I realized I have a ton of Christmas decorations that I can use for the party. I had a snowman that we use as our front yard decoration during Christmas, this was our Olaf. Then I had a large white center piece that we use during Christmas time, so that was our table decoration. Then I took some snow flakes that were Christmas ornaments and spread it around the room. The room looked very wintery and I didn’t even use any of the downloaded Frozen pieces.


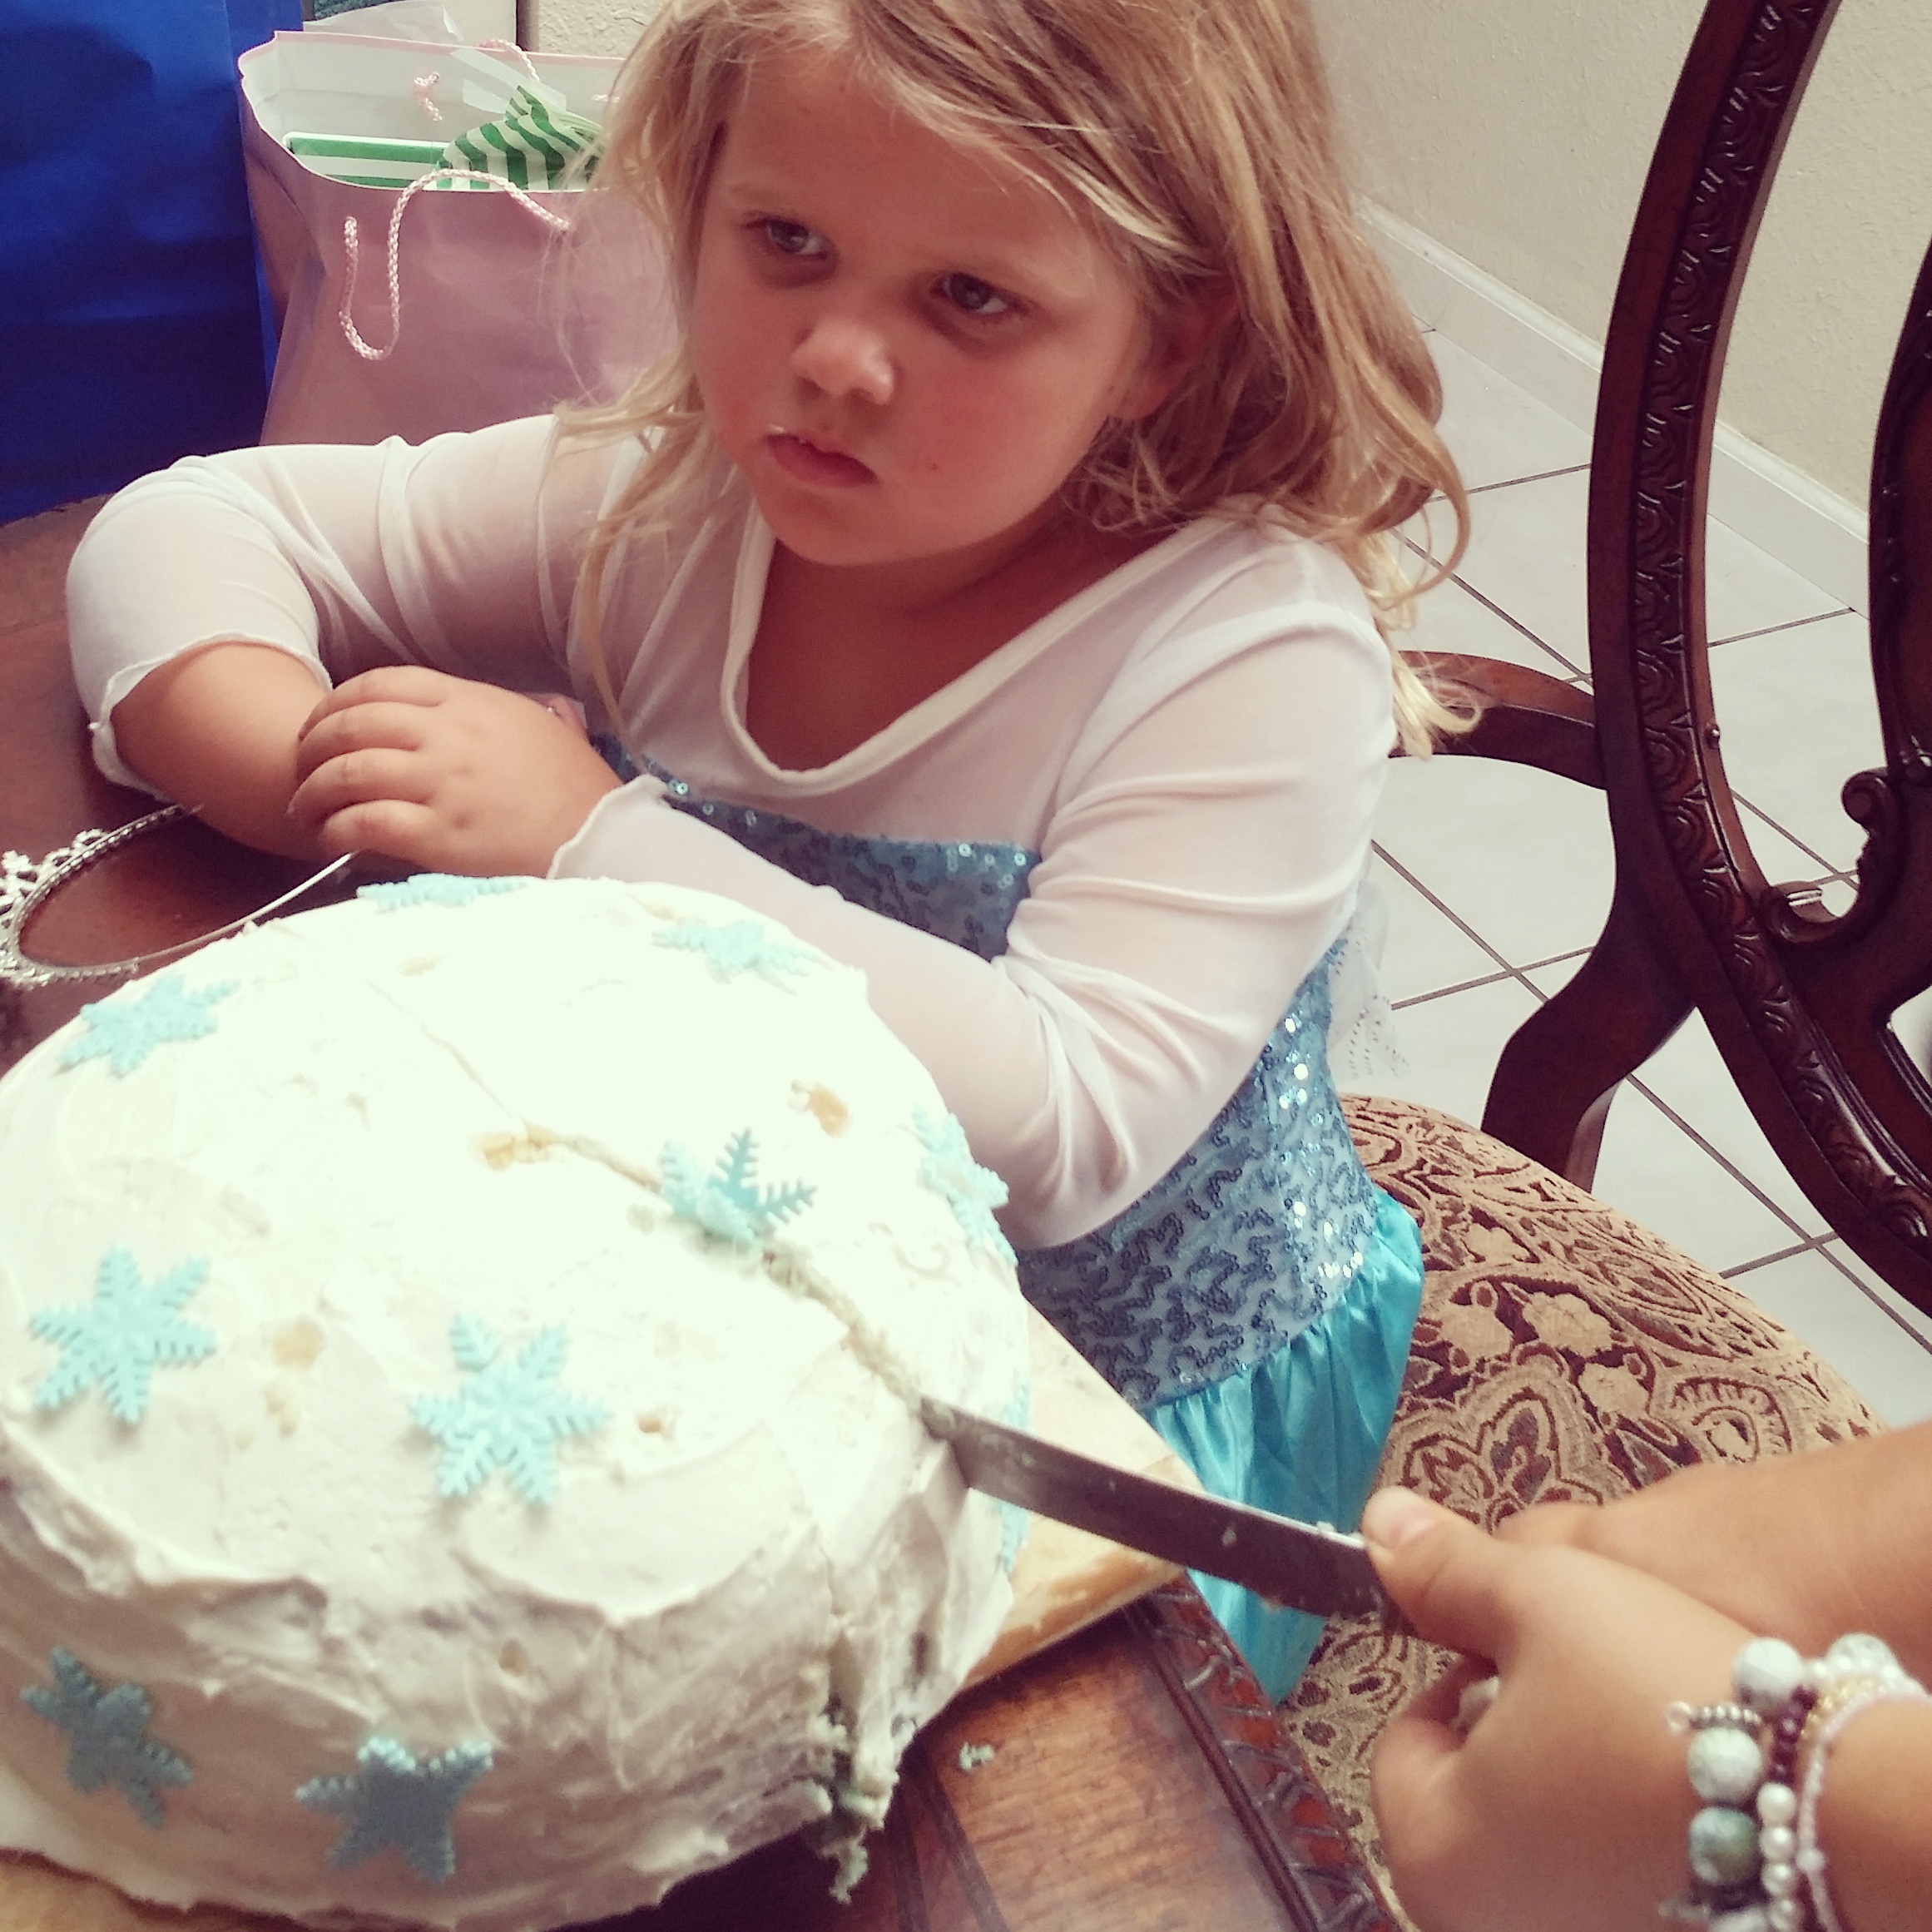
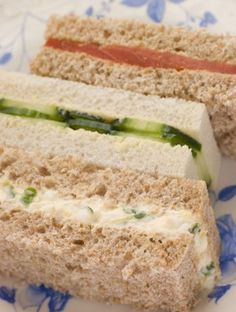
For the menu, my Birthday Girl, said that she wanted pizza. So I just had to put together some appetizers and a cake. I had some standard crackers and cheese, Olaf nose- carrots, blue jello- ice. And I made Frozen ice cream cake (read the recipe in my next post).
To put everything together was relatively easy, everything was ready 30 minutes before guests arrived (for me it is very good, usually I am 5 minutes behind.)
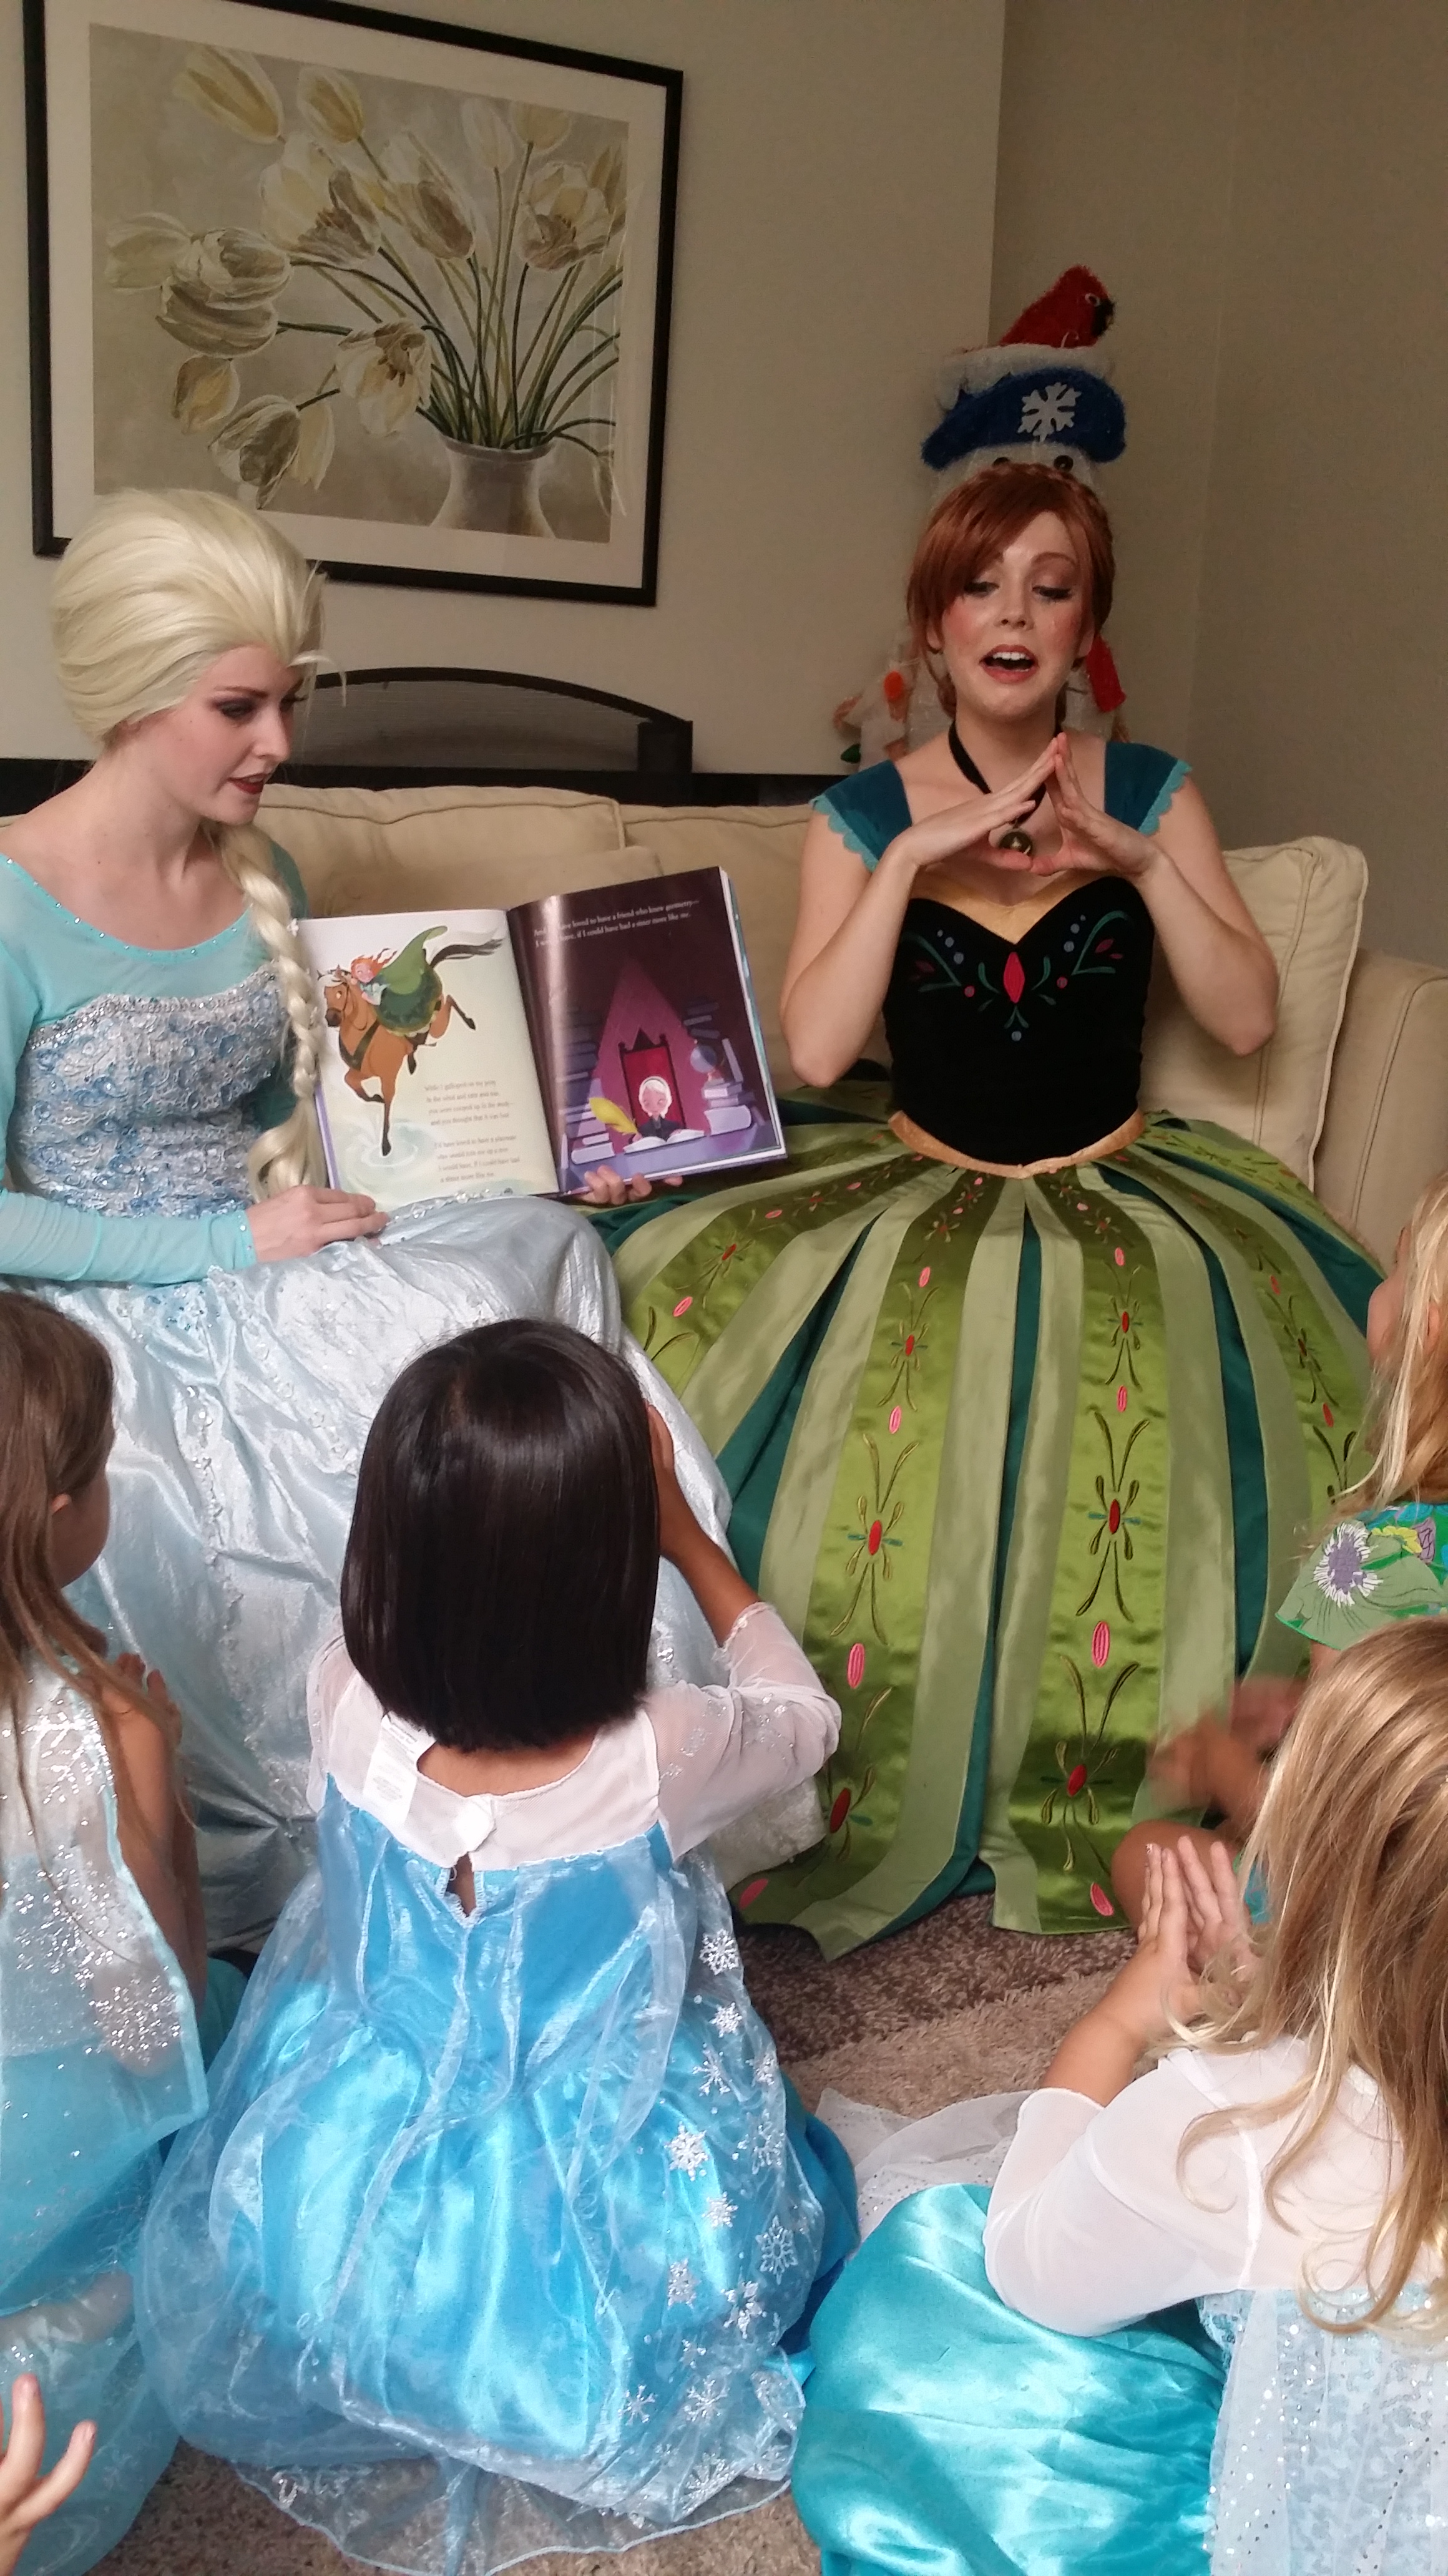
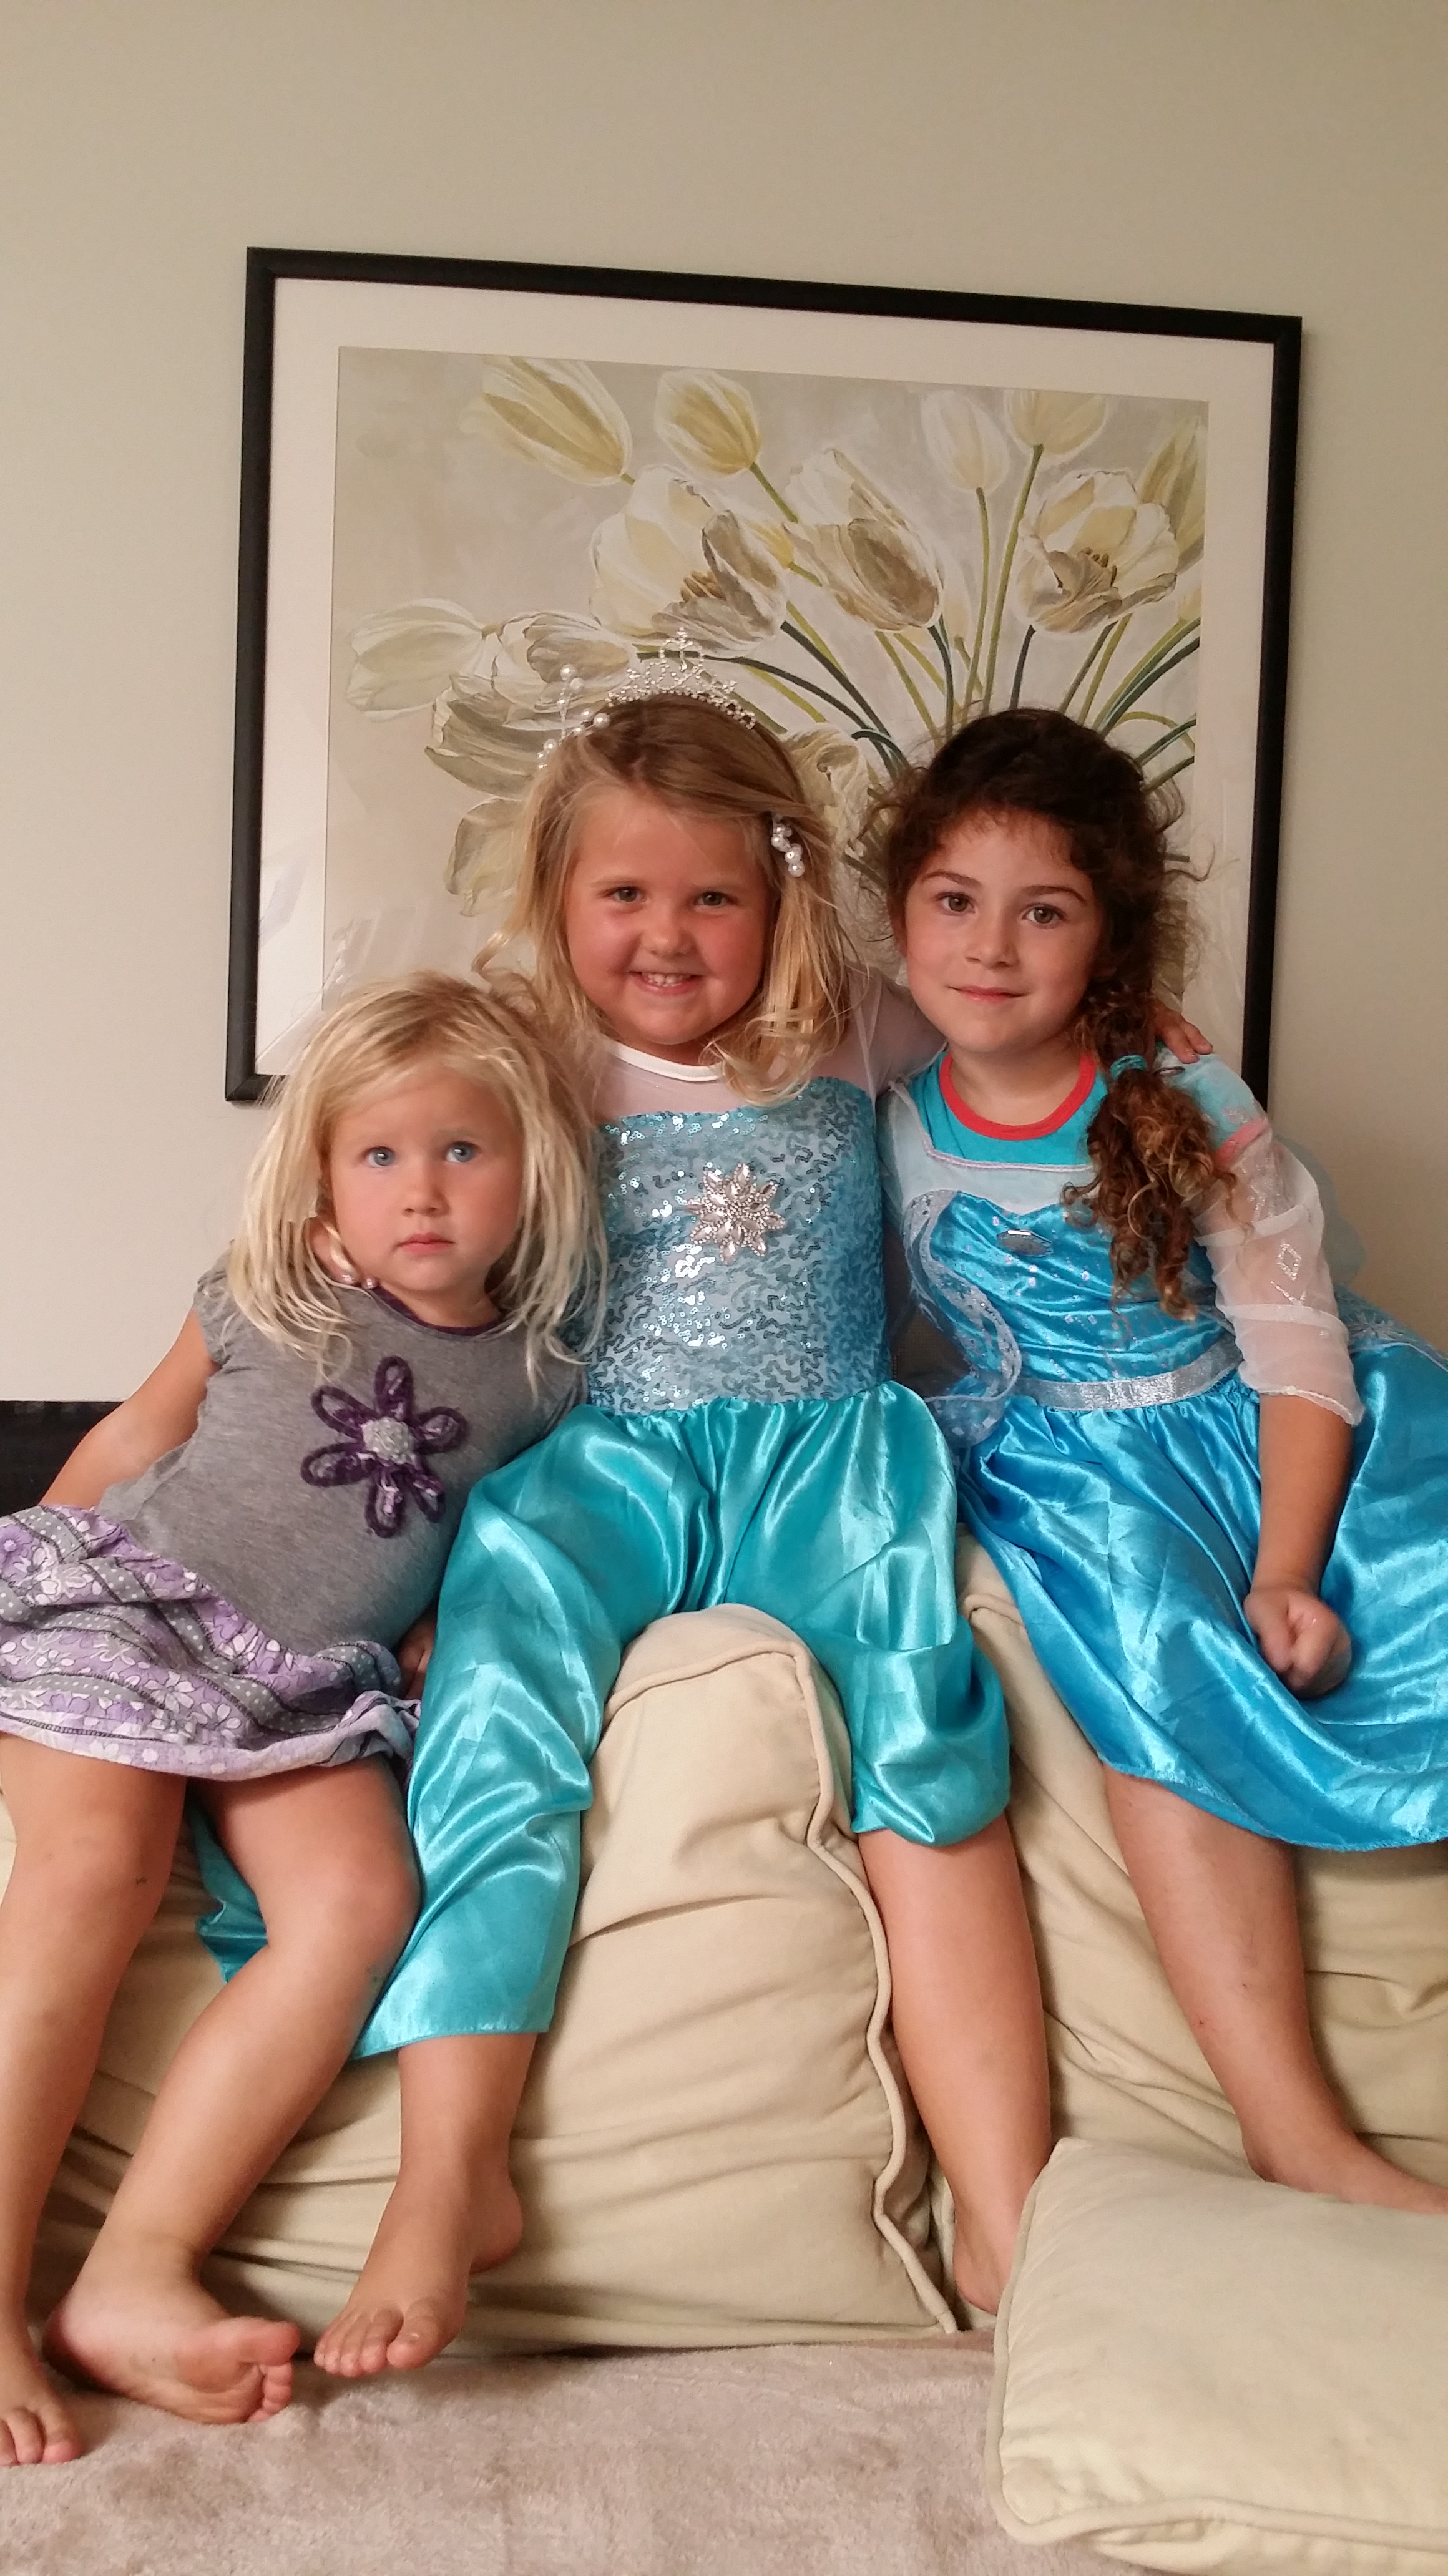
I invited everyone to come 30 minutes before the princesses, in case people are running late. When Anna and Elsa arrived they had a very packed program for 90 minutes (coronation of the birthday girl, princess lessons, manicures, parade, singing songs, coloring, reading a book, dancing, taking portraits).


To be honest, 5 year olds and under were done after the first hour, they couldn’t wait to get to pizza and be done with the activities. Keep that on mind, if your kids are young, their attention span will be pretty short.
When the princesses left, everyone had pizza and the cake. At last, we opened all the gifts, thanked all the guests and the party was over.
My girls and their friends are still taking about it, they say it was the best party ever and I was able to pull it off all by myself with a little help from a Fairy Godmother.
DIY Frozen Birthday Party
My oldest daughter is turning 5, and of course, when the time came to pick a theme for her birthday this year it was FROZEN.
I believe that in order for the party to be a success it has to be well organized and planned, where kids are being occupied every minute, or they will become uncomfortable and bored, especially if you have many different guests who don’t really know each other. At first, I was going to buying an Elsa costume for me and be Elsa. I was going to organize some “Frozen theme” activities like:
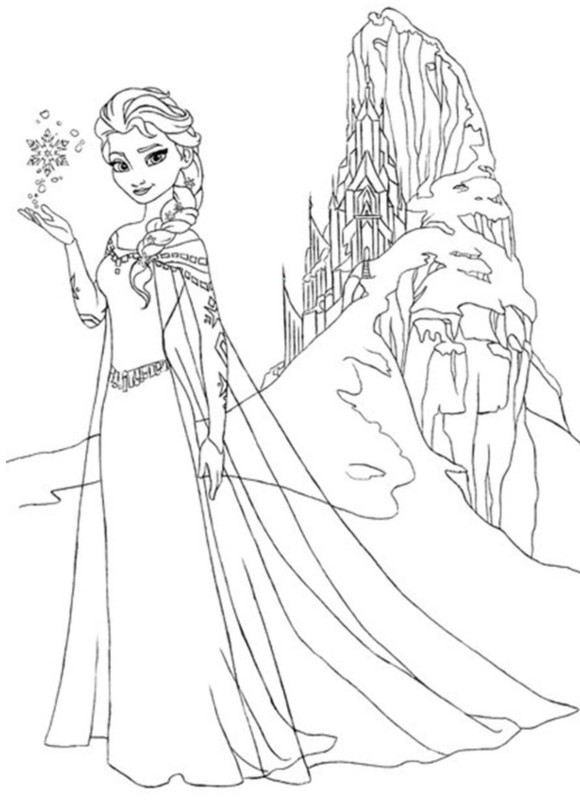
Coloring Frozen picture
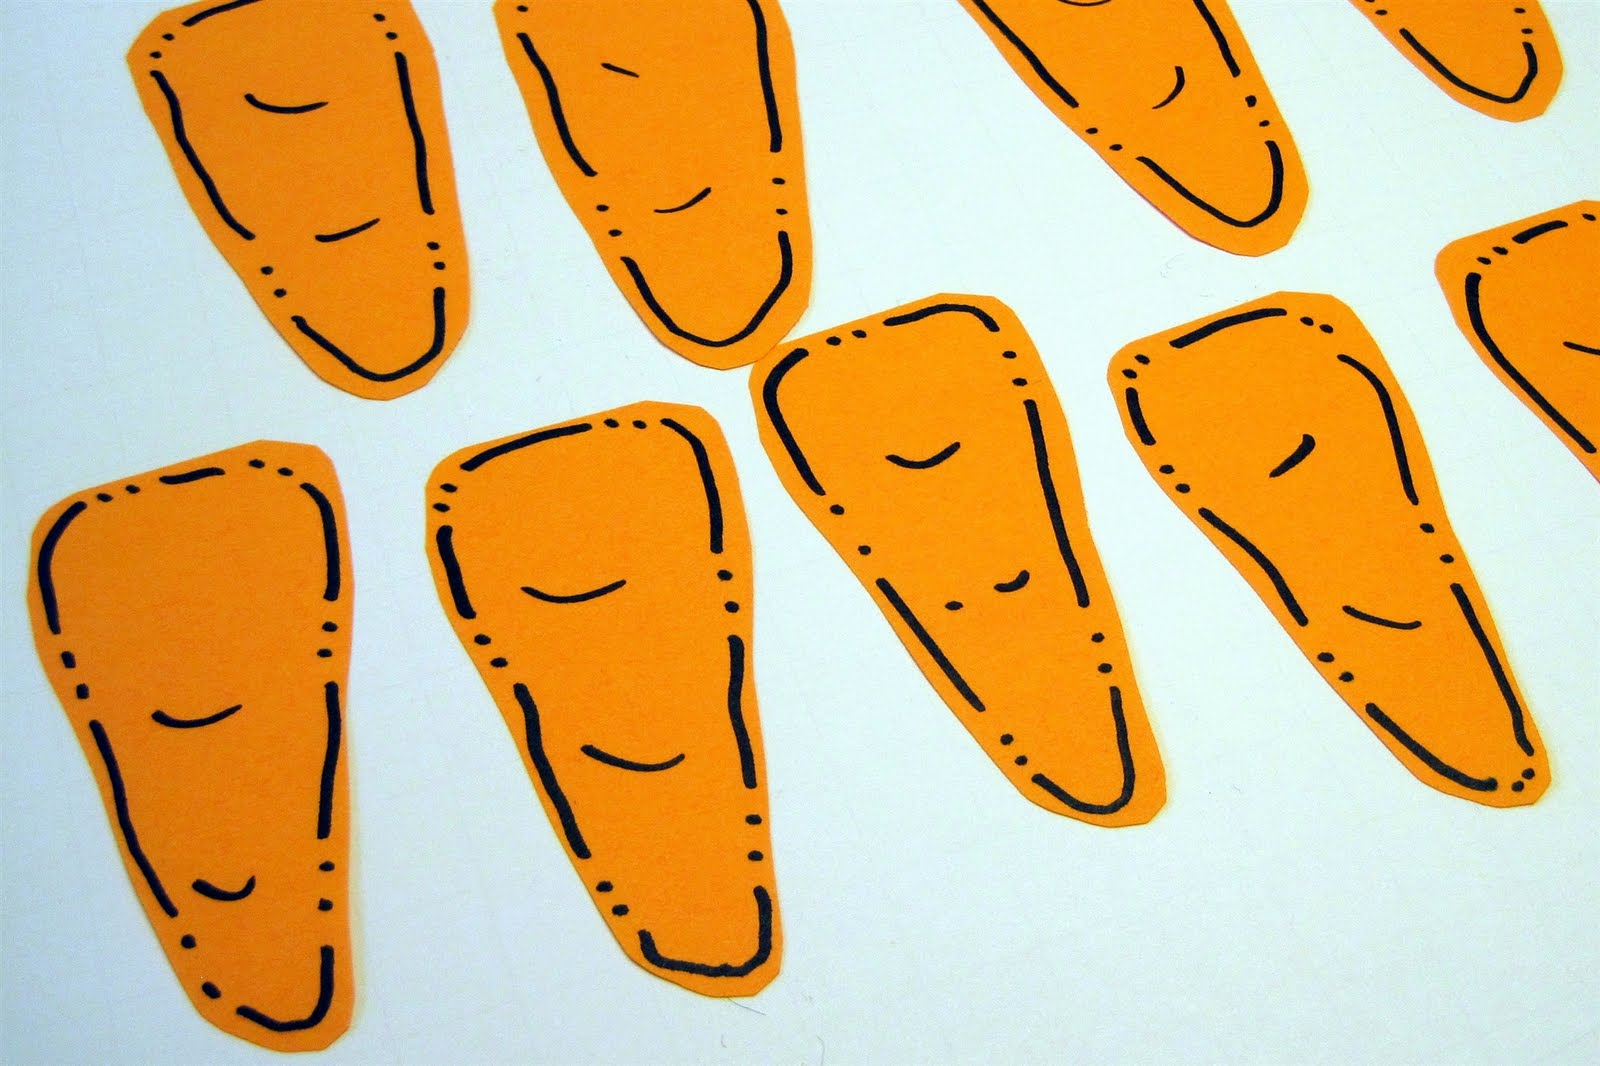
Putting carrot nose on Olaf (pin the tail on a donkey),

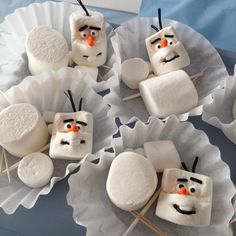
Making Olaf out of marshmallows and toothpicks,
Making bracelets out of white and blue beads

Face painting

Then I was going to read them a Frozen book

Sing Let it GO
For Party favors, I was going to have kids take home what they made, all that I needed to purchase was empty bags for party favors.
For snacks I had:
a blue Jello “Ice Cubes”

carrots “Olaf Nose”

Sandwiches for “We finish each other sandwiches”
Cheese sticks “Olaf”

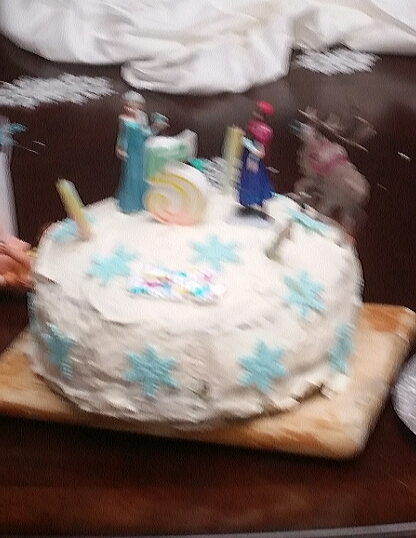
Frozen Ice Cream Cake
For drinks I had water with “melted Snow” free printables on them.
For decorations, you can use any white Christmas decorations or print some free Frozen theme home decorations.
I did similar Birthday Party last year, where I organized, planned and was a host of the 4 year old party. Everyone loved it and it was A LOT of work where I was able to interact with all the kids and bring the joy to them directly. If you have a support group, this is a great Frozen Party Idea, that will not cost you a lot of money.
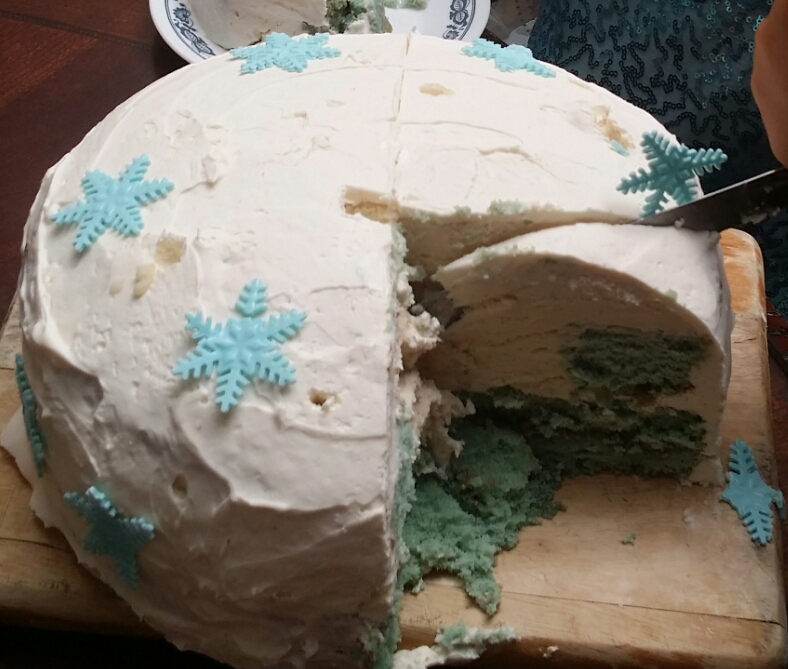
Frozen Ice Cream Cake Tutorial
For my daughter’s Frozen Birthday Party I made her a Frozen Ice Cream Cake. I was doing a great job capturing every step of making it, until it came the last part. I was putting the cake together during the birthday party, so I forgot to take the pictures, but I hope the detailed description I provide will be enough to replicate it. The cake was delicious, everyone loved it kids and adults.
Making the cake is time consuming, but if you spread the work in 3 days, it is not too bad.
Frozen Blue Cake
INGREDIENTS:
1 cup white sugar- twice
1/2 cup butter- twice
2 eggs- twice
2 teaspoons vanilla extract- twice
1 1/2 cups all-purpose flour- twice
1 3/4 teaspoons baking powder- twice
1/2 cup milk- twice
15 drops of blue food coloring- twice
Both two layer you will need to do everything twice. If you are used to baking, you can double all the ingredient and then, equally divide between two pans. I just did everything twice.
Whipped Cream Frosting
Ingredients:
2 cups heavy whipping cream
1 tsp. vanilla
1/2 cup sugar
1½ tsp. Unflavored Gelatin
4 tsp. water
You will also need :
1/4 cup of Strawberry jam
1.5 pints of vanilla ice-cream
Day 1
Bake the cakes.
DIRECTIONS:
Preheat oven to 350 degrees F (175 degrees C). Grease and flour a 9 inch round pan.
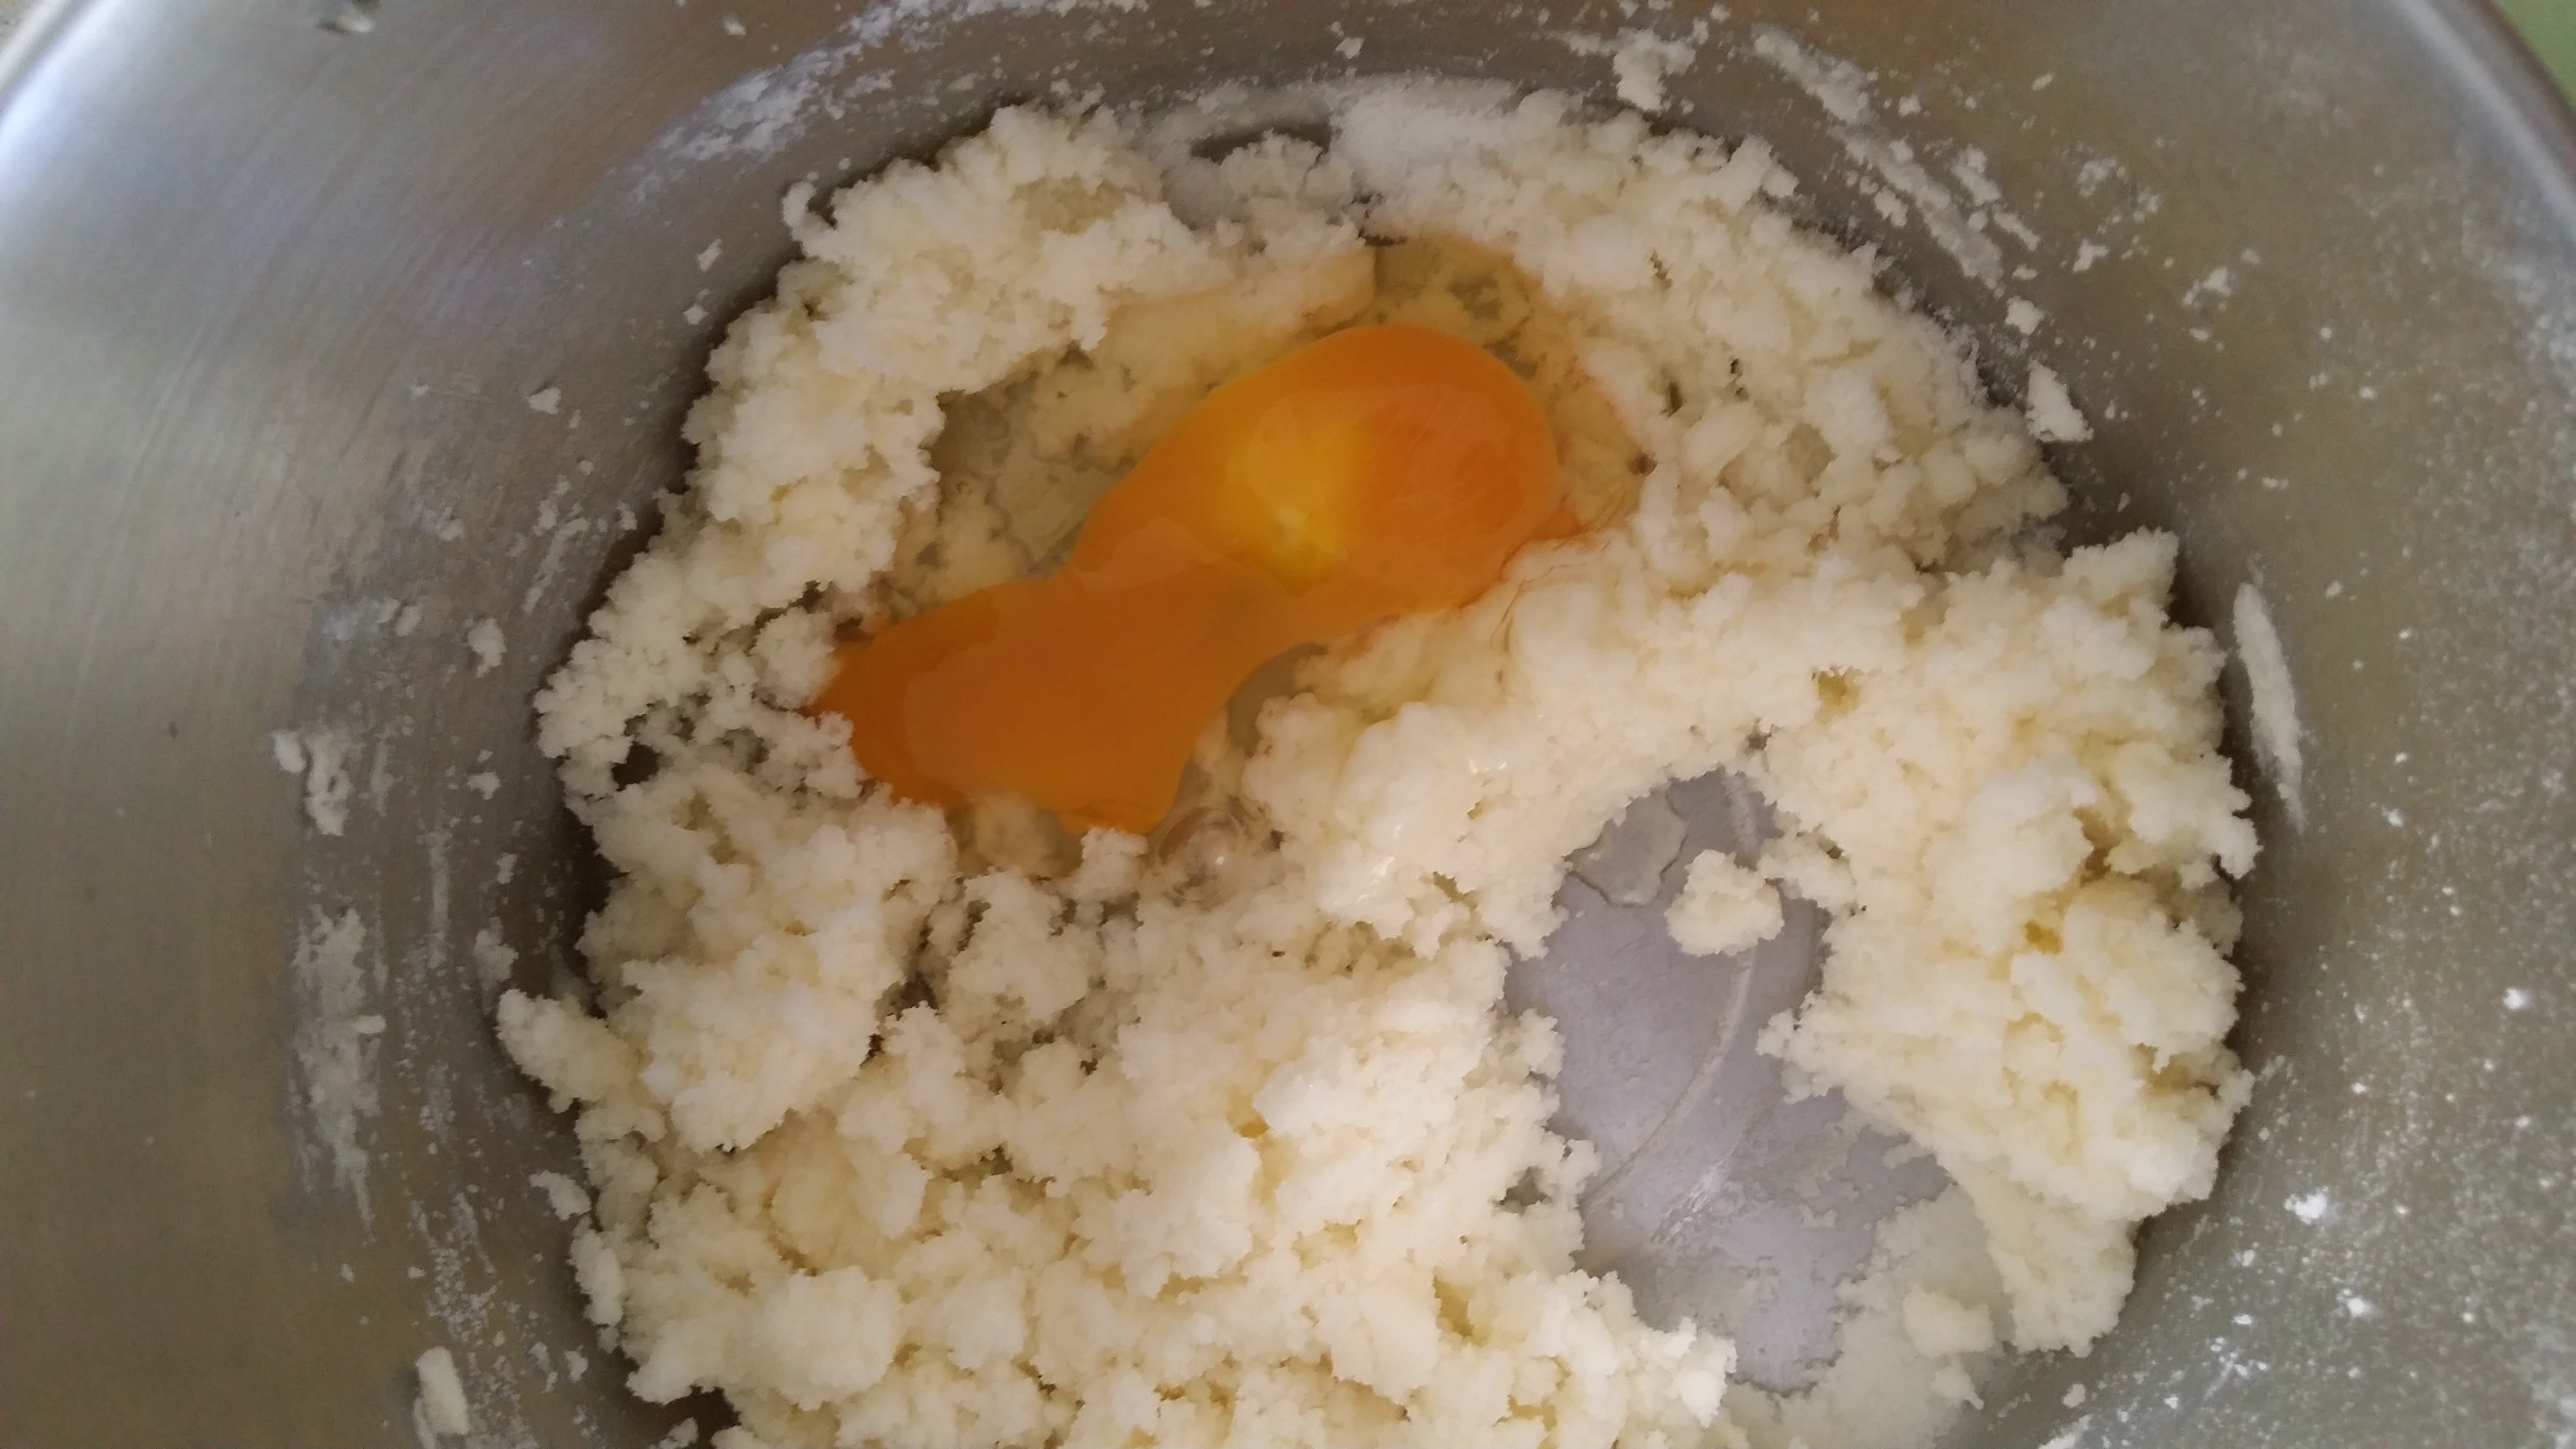
In a medium bowl, cream together the sugar and butter.


Beat in the eggs, one at a time.
Stir in the vanilla.
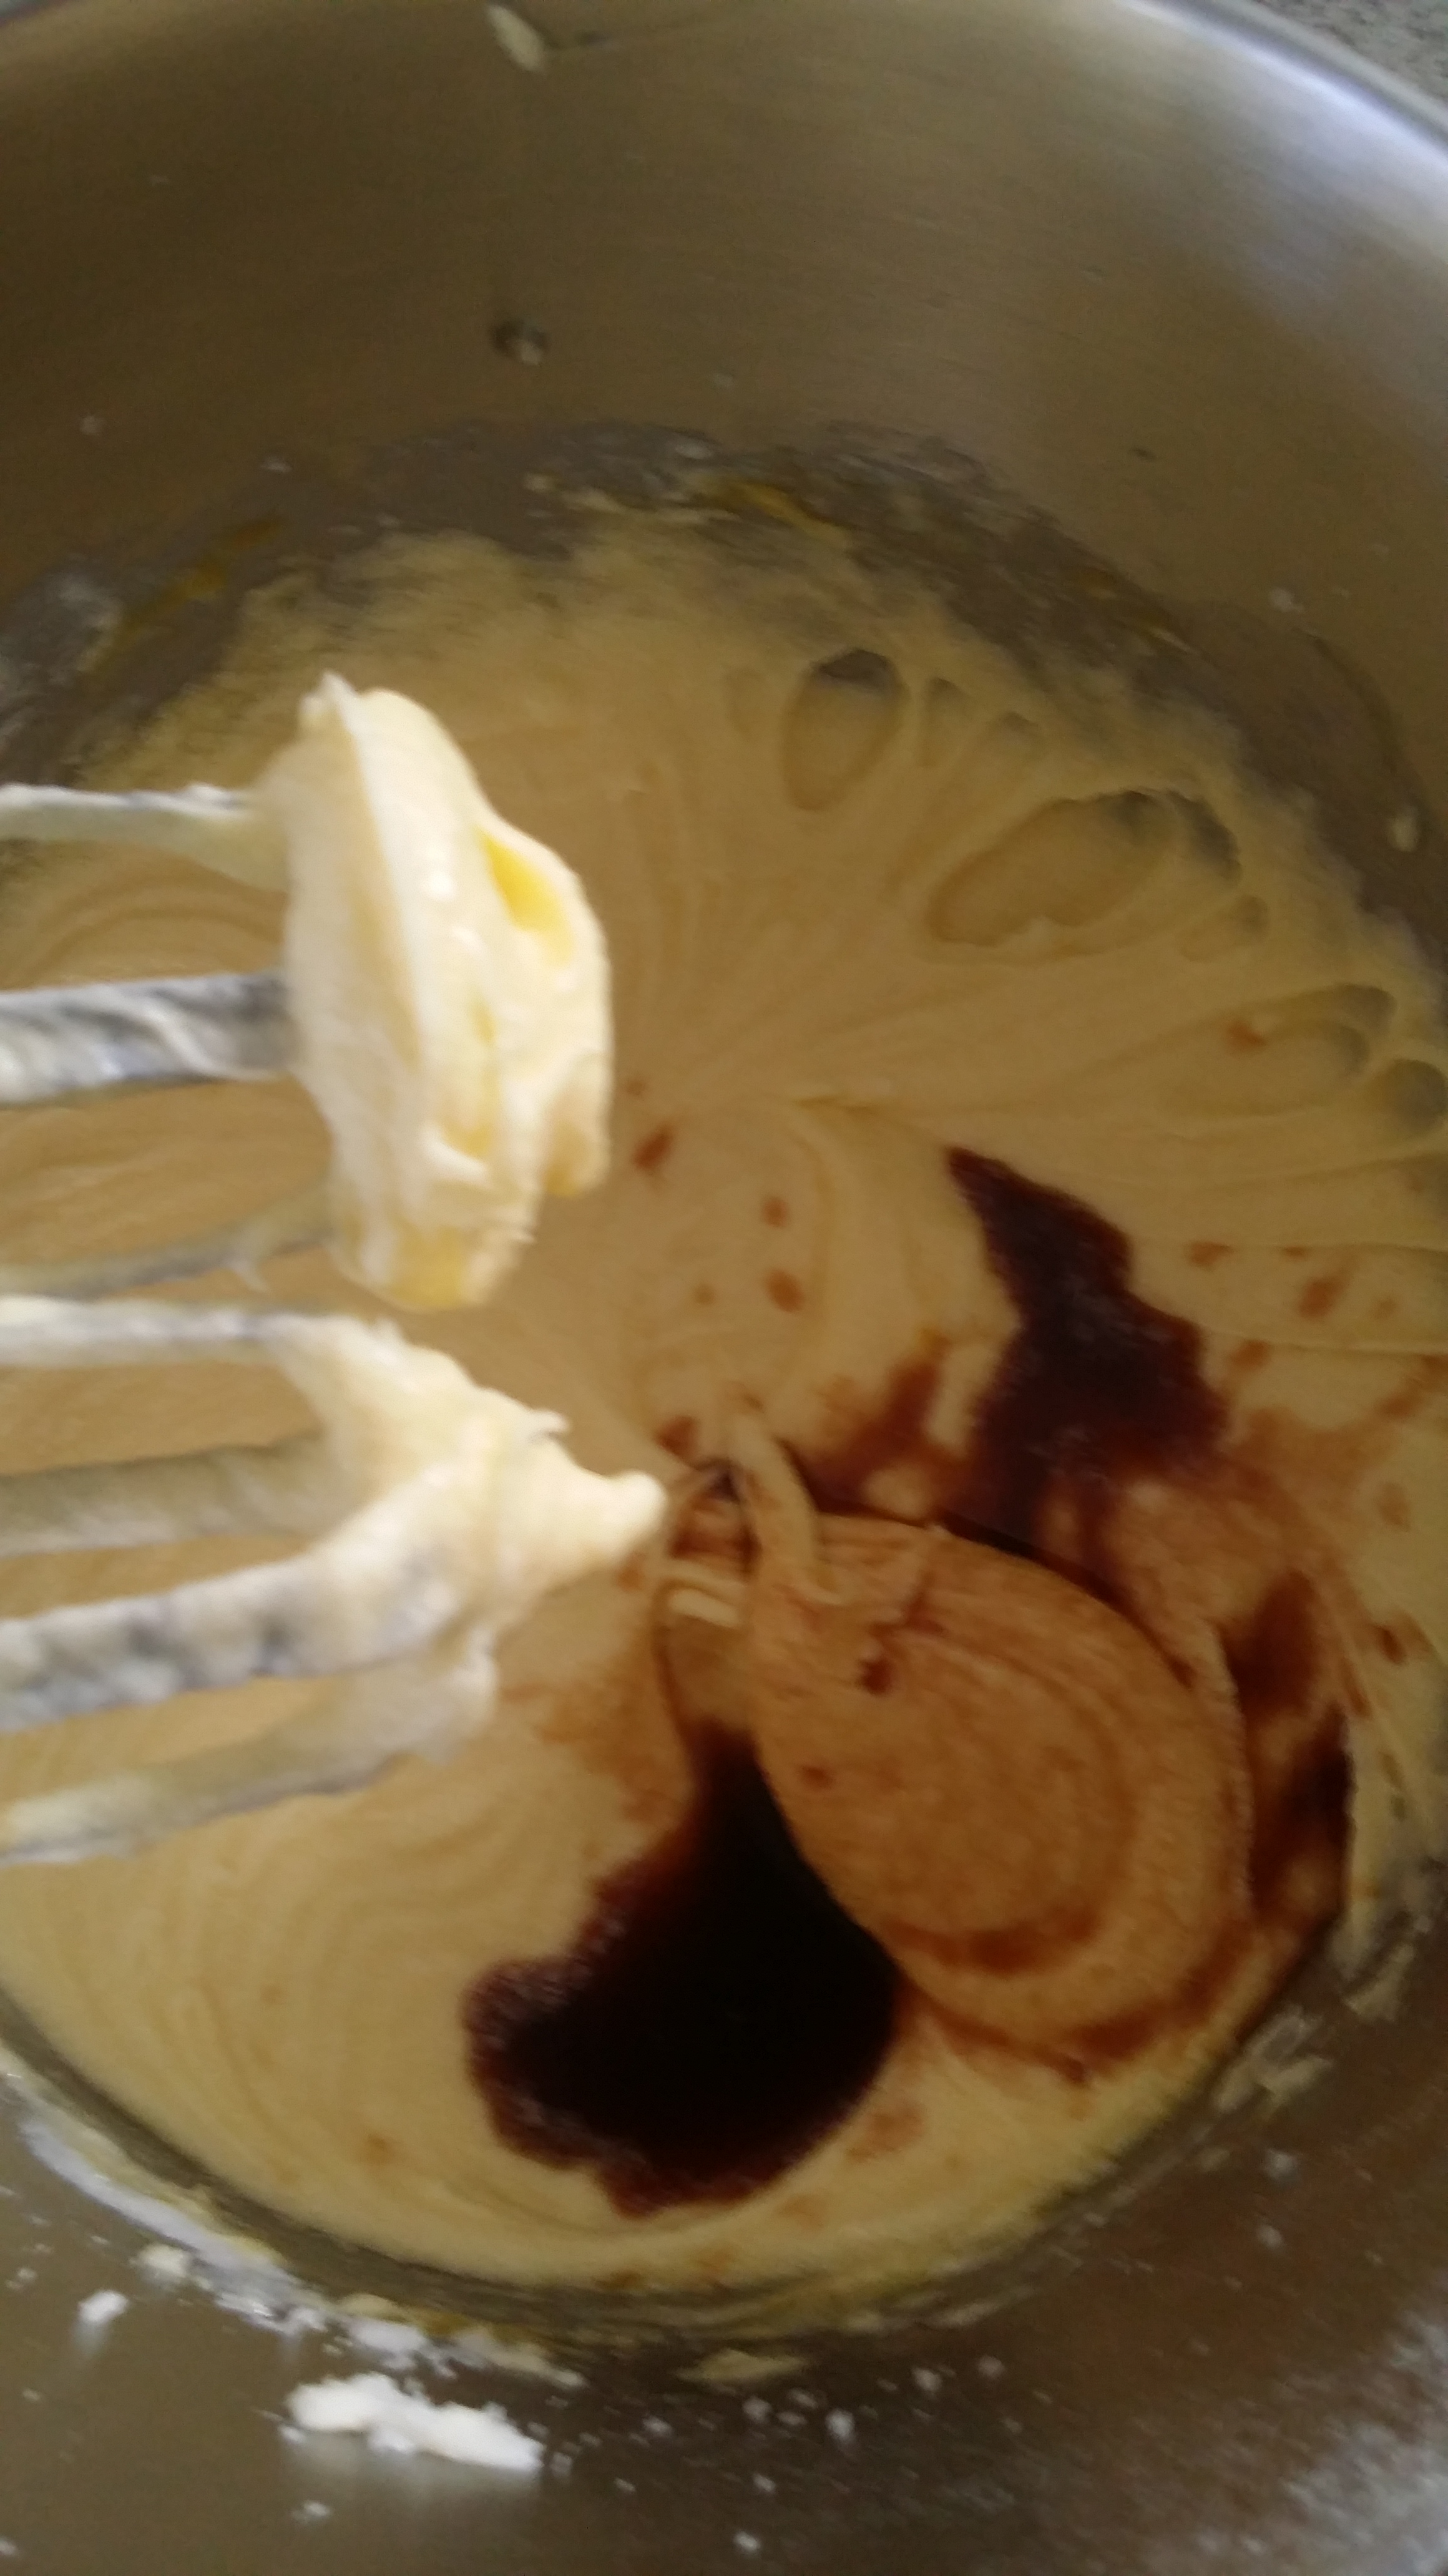
Drop in the food coloring.
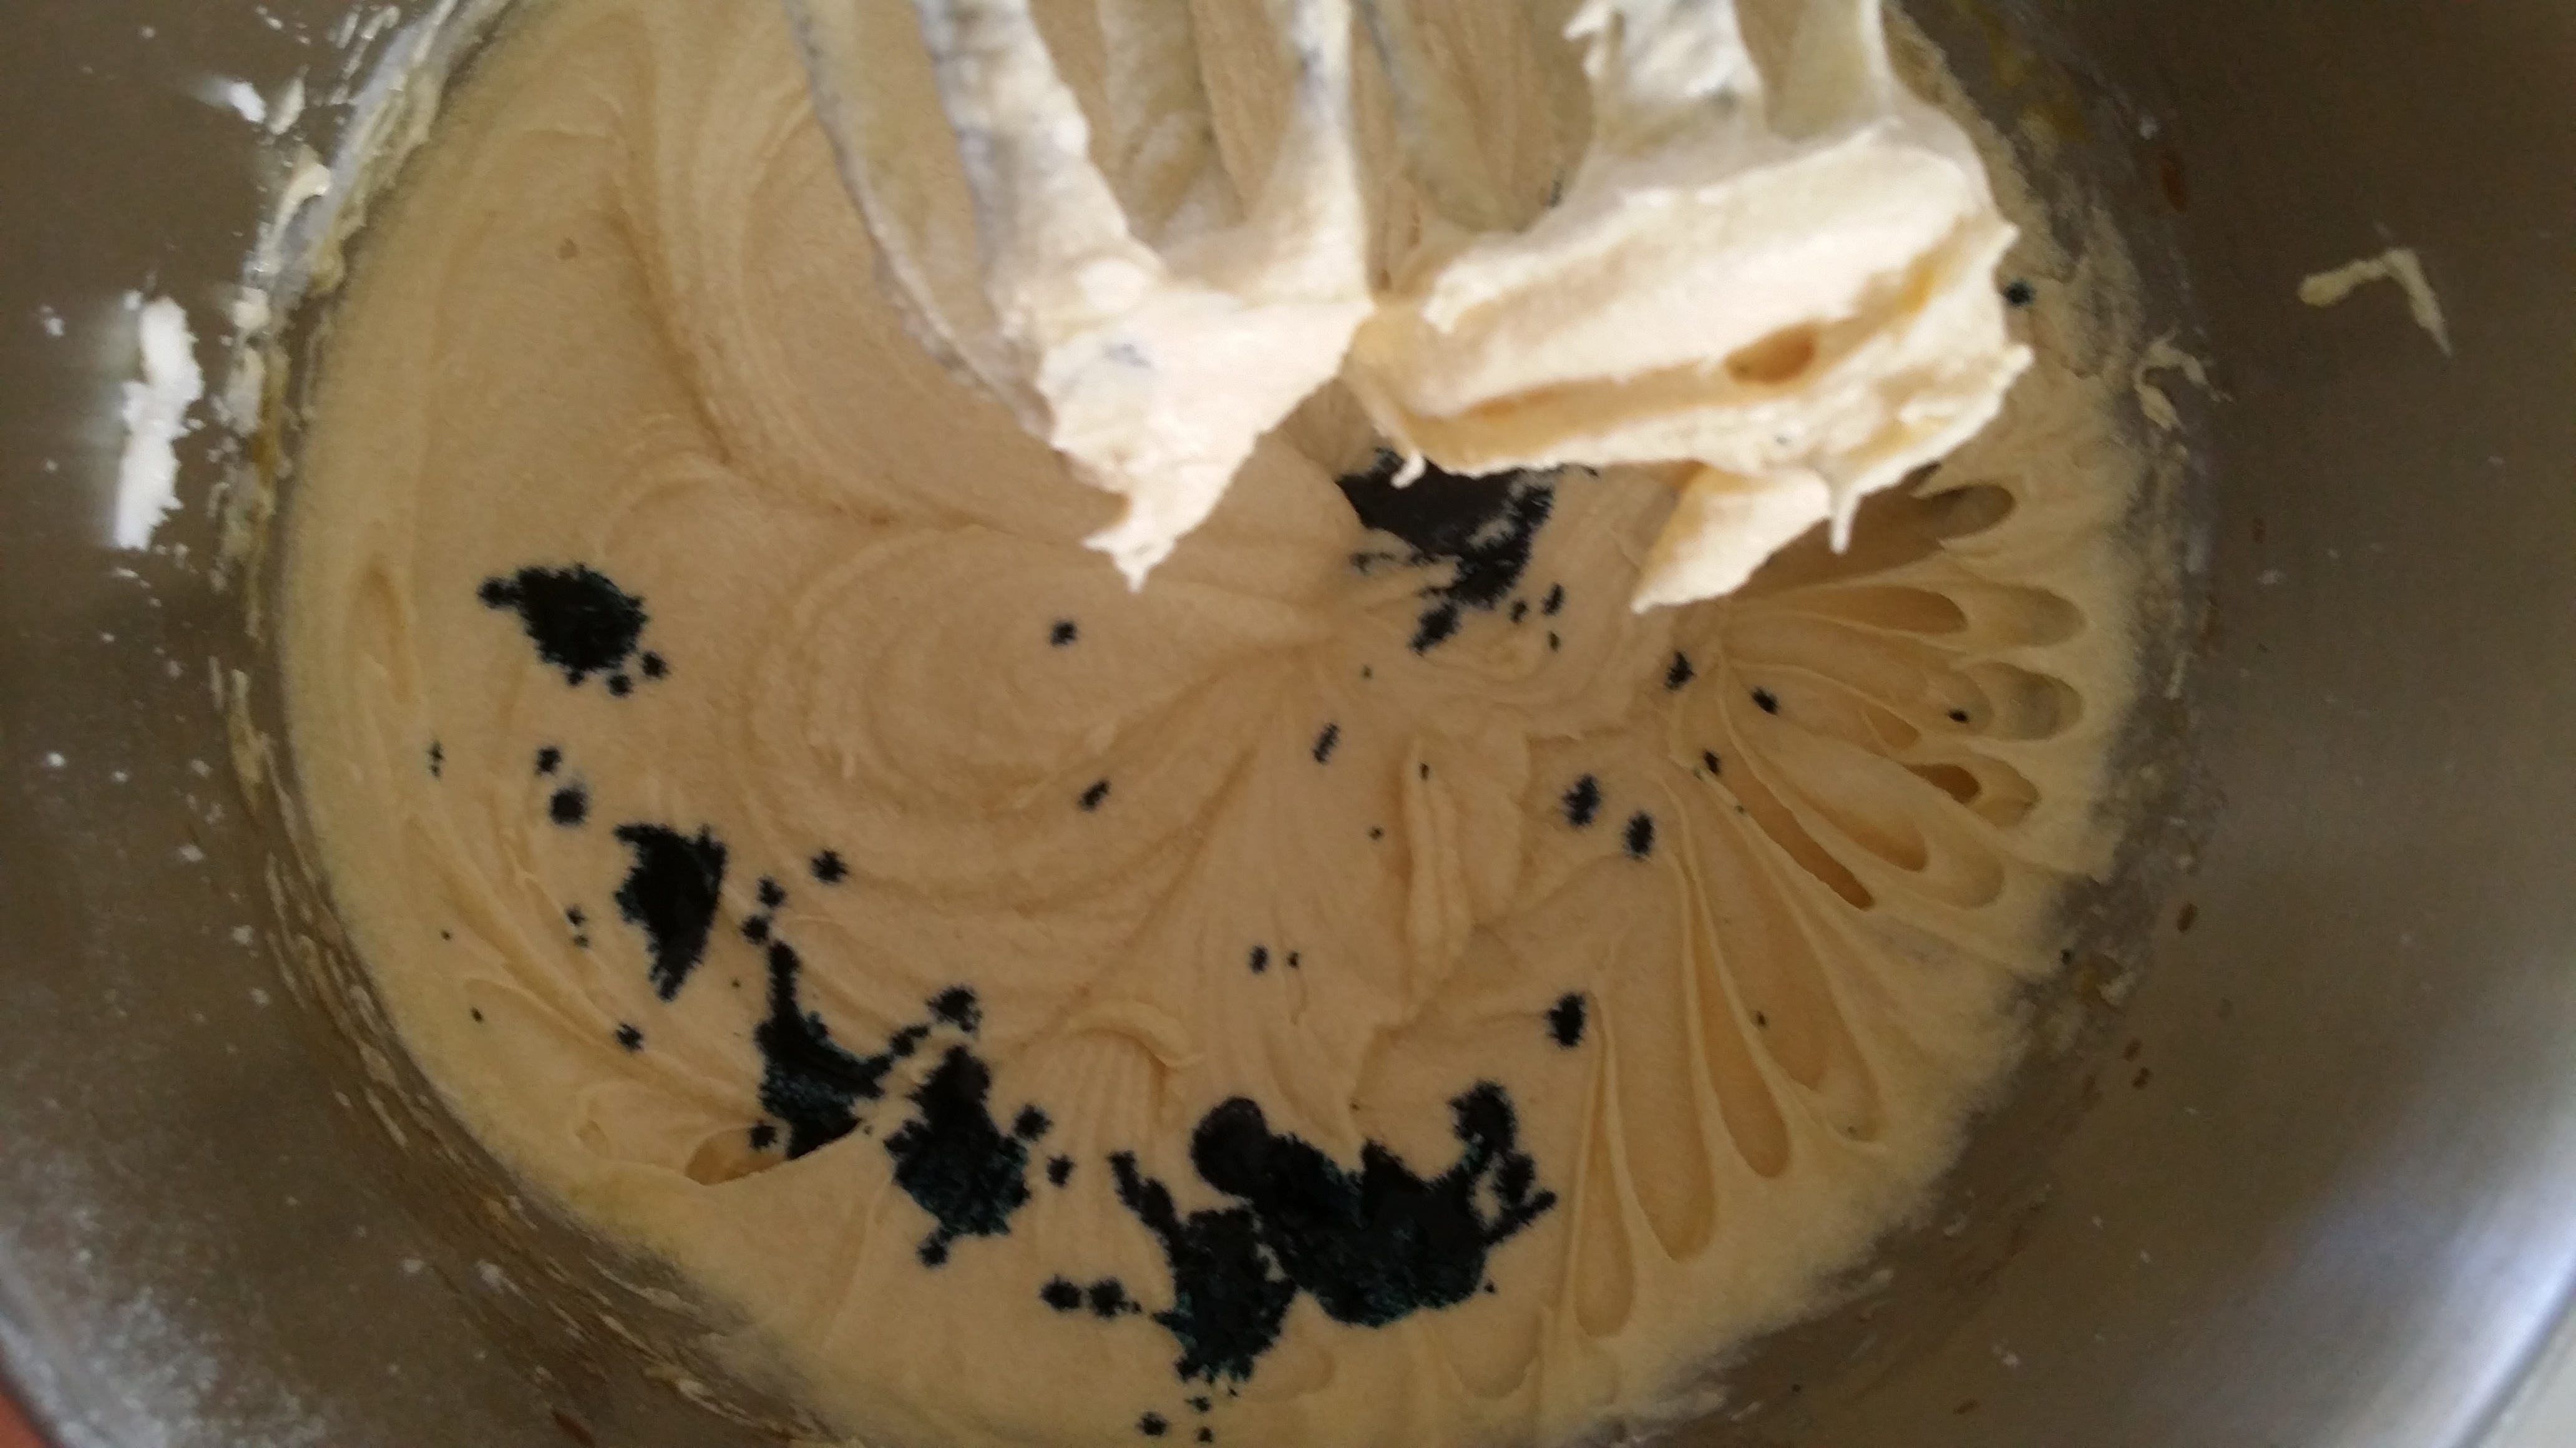
Combine flour and baking powder, add to the creamed mixture and mix well.

Finally stir in the milk until batter is smooth.


Pour or spoon batter into the prepared pan.

Bake for 30 to 40 minutes in the preheated oven.
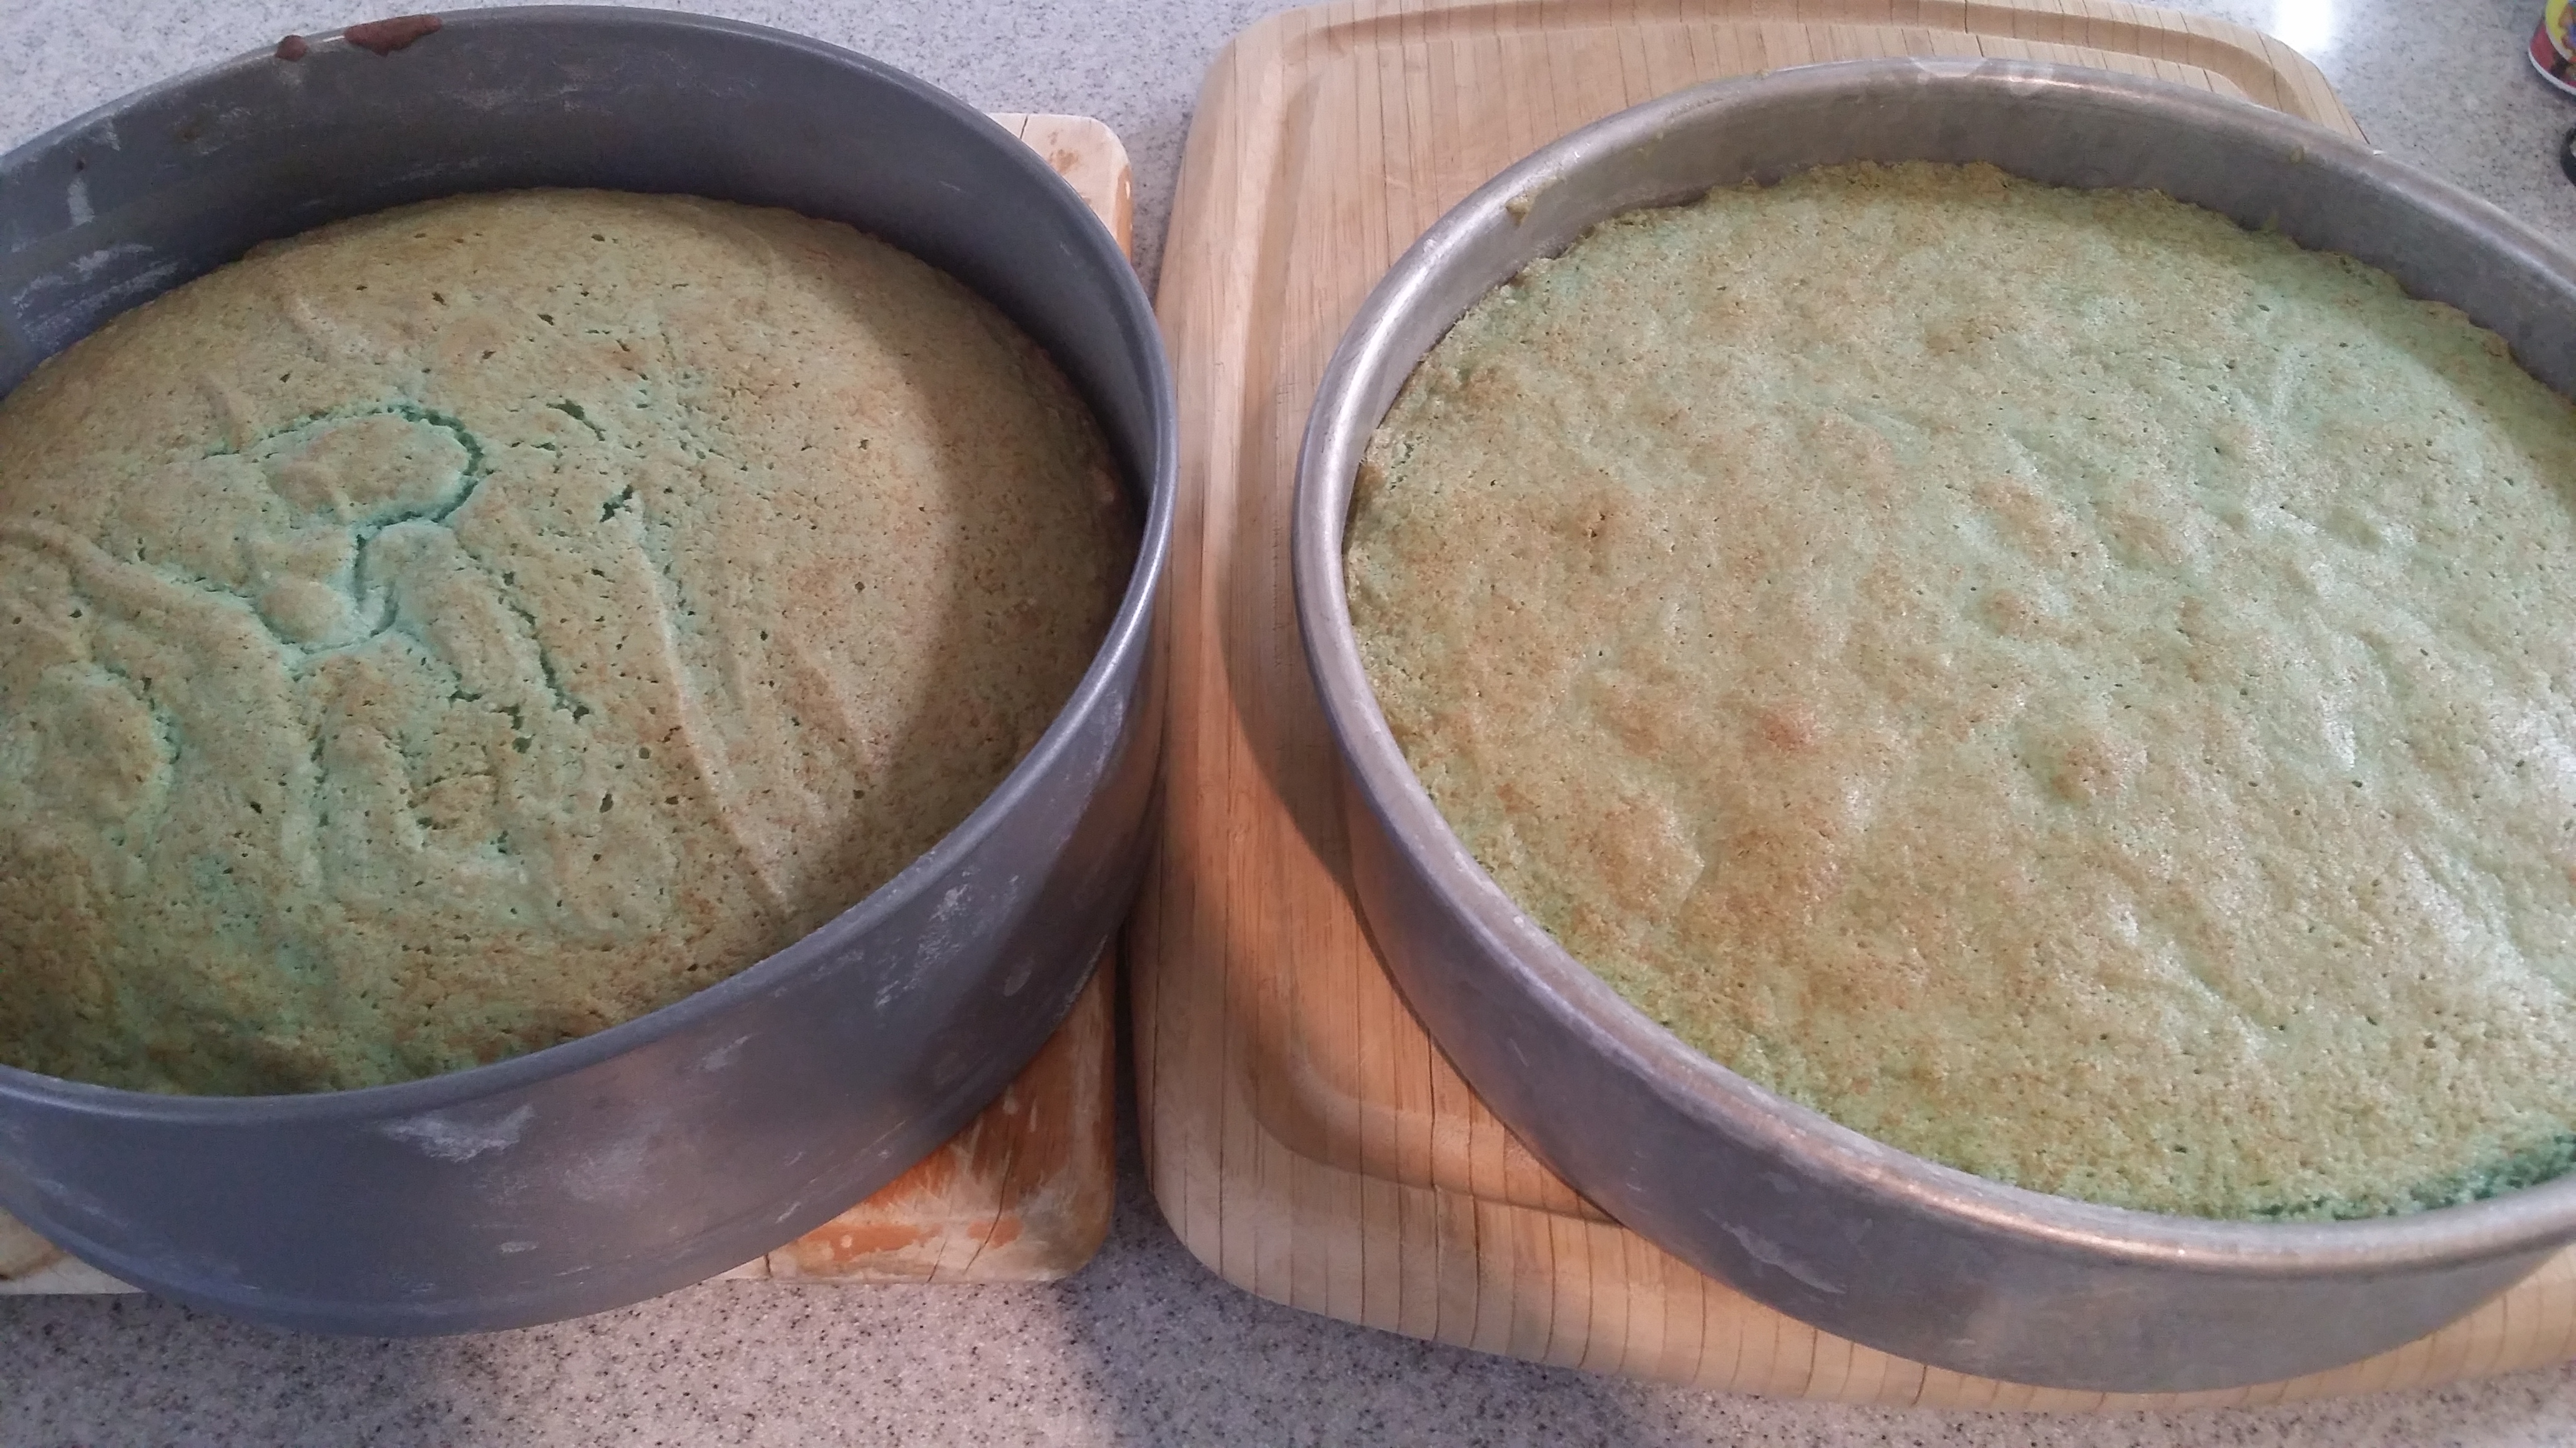
Once the cakes (Cake 1 and Cake 2) cooled down, cut Cake 1 in the middle into two layers, so you can put the strawberry jam in between them later. Wrap it and freeze it.
Place Cake 2 on a large plate and cut the middle part out, wrap it together with a plastic wrap freeze it.
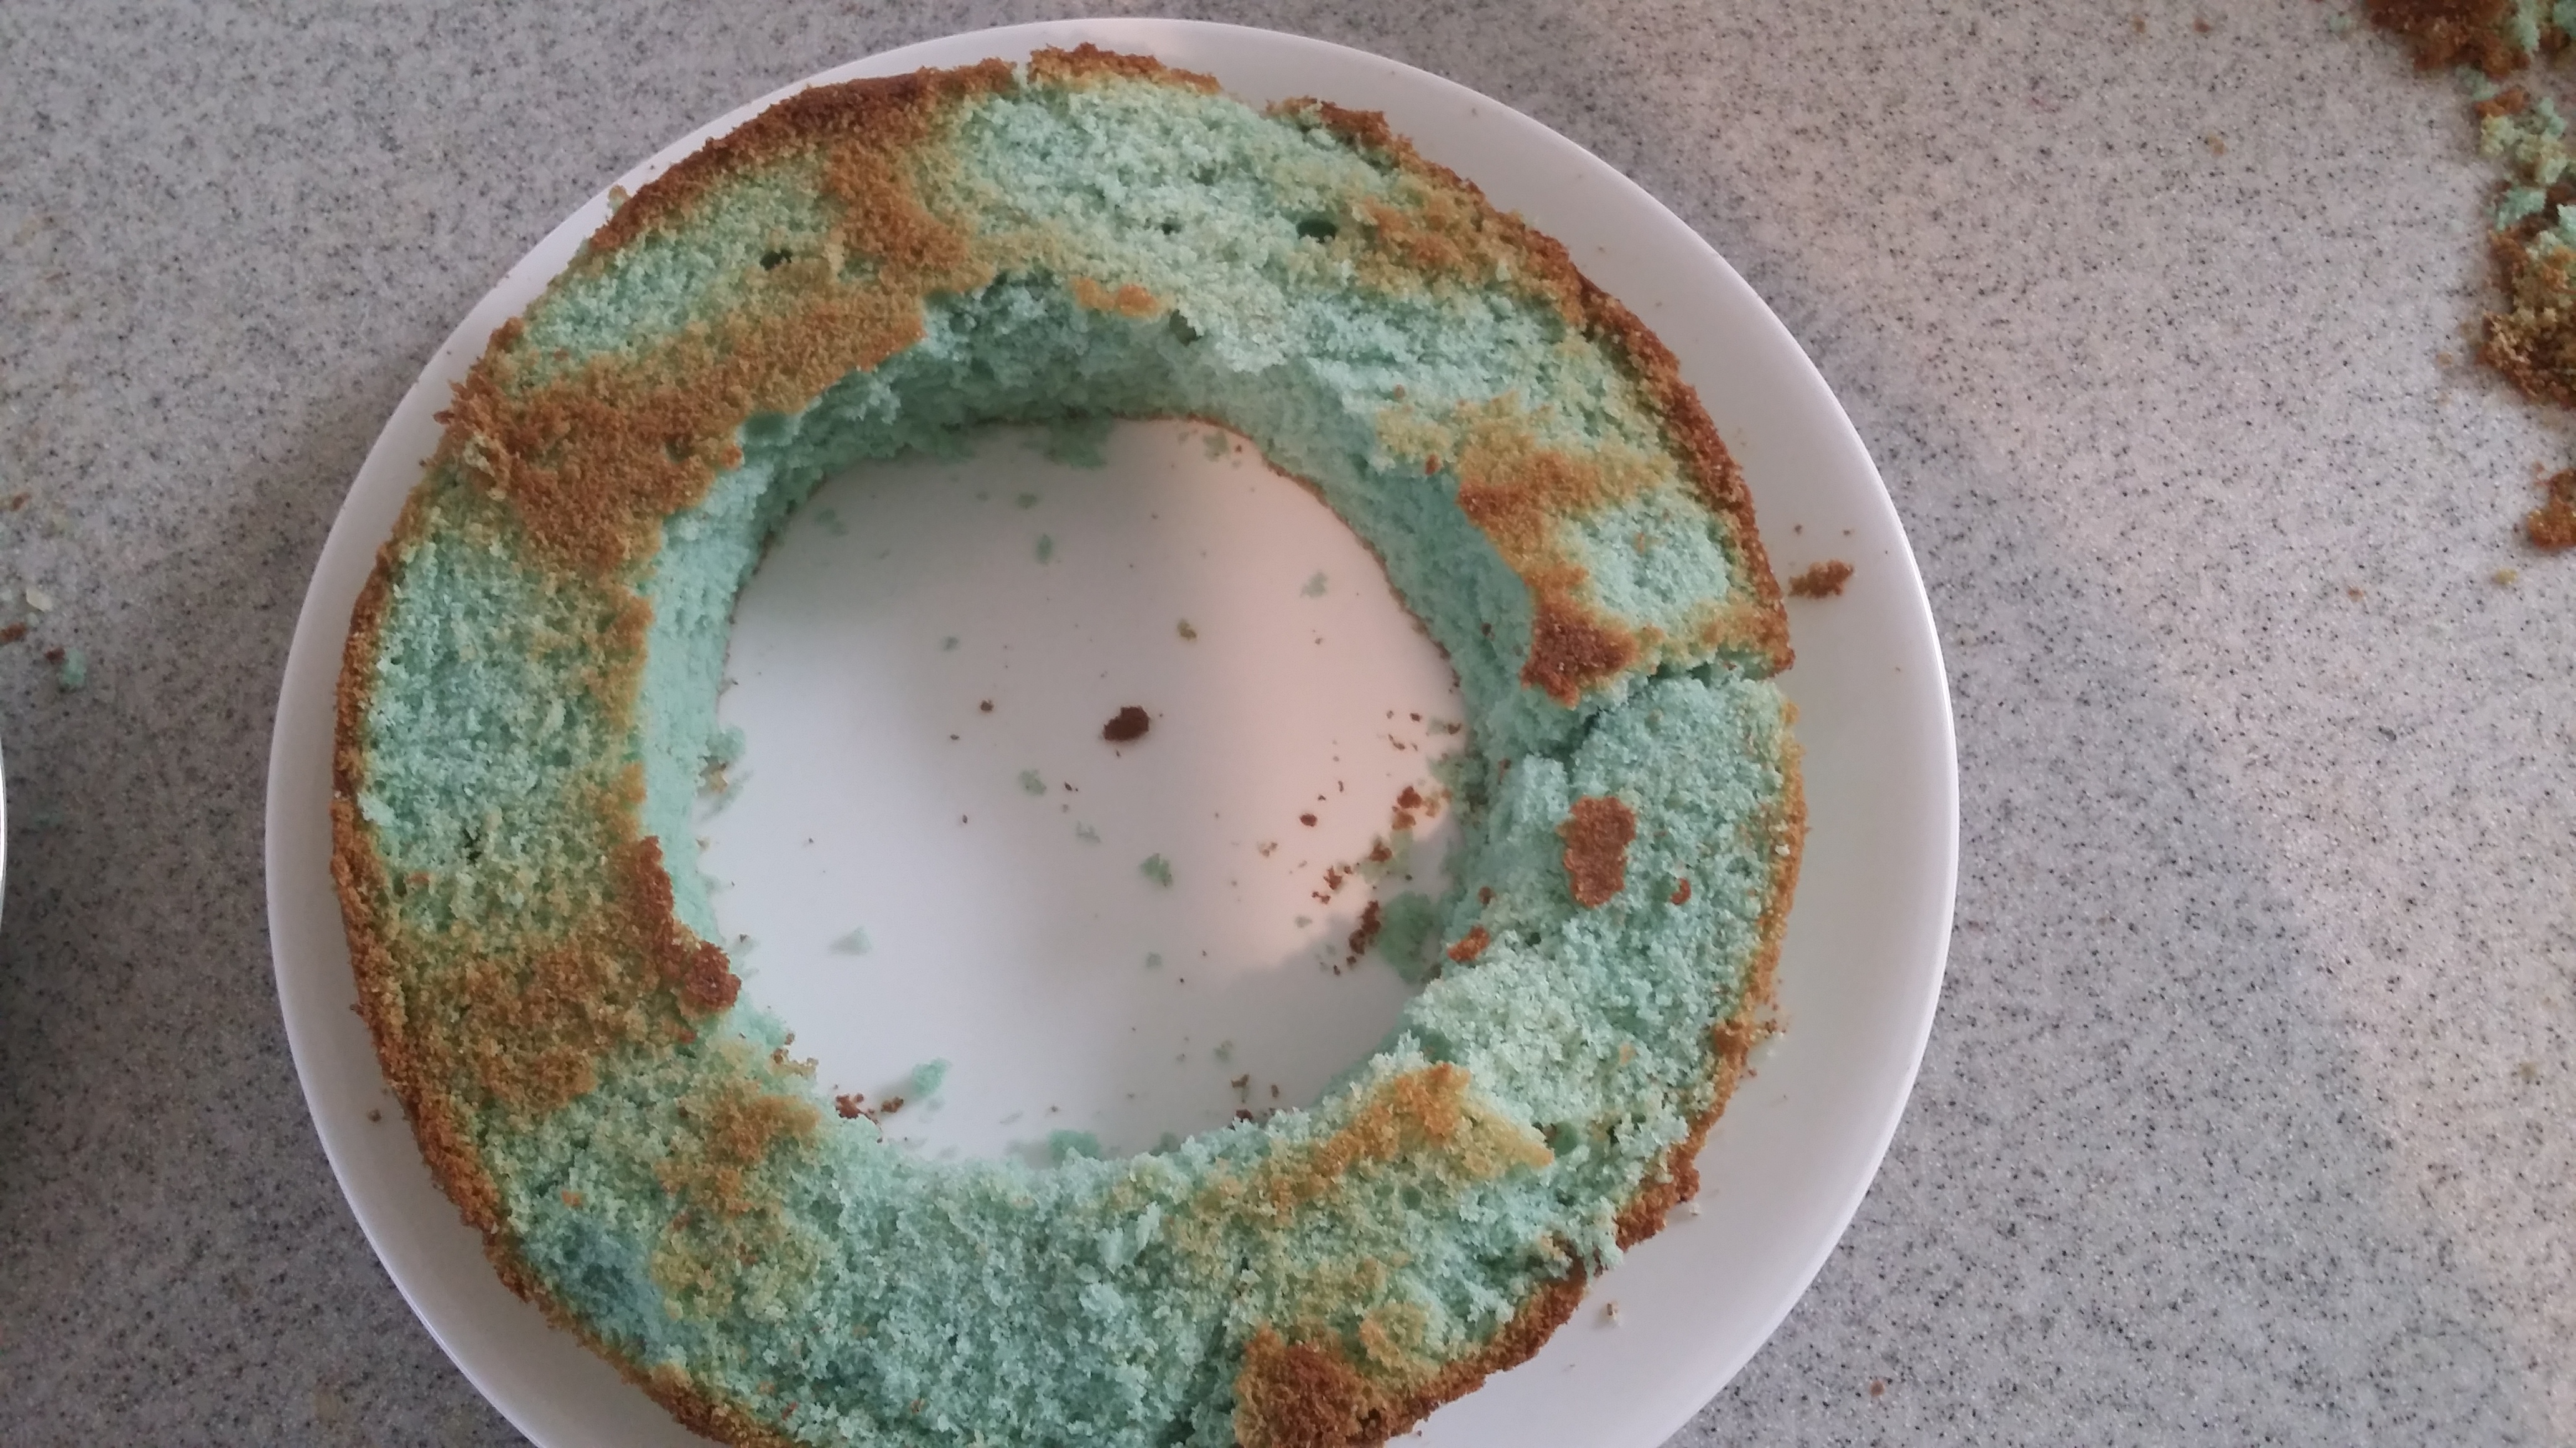
You will need to have the both cakes frozen to be able to put ice cream inside.
Day 2
Next day, take a SOFT vanilla ice cream, about 1.5 pints, and place it inside the Cake 2. Wrap it with a plastic wrap and put it back in the freezer.
Separate two layers from Cake 1 and spread strawberry jam in between. If jam is too thick, you can add a little bit of water to make it easy for spreading. Put both layers together, wrap it in the plastic bag and leave it in the refrigerator overnight.
The same day, make Whipped Cream Frosting.
Whipped Cream Frosting Instructions
Whip the heavy cream, sugar and vanilla on high or until thickened with an electric mixer. Mix the water and gelatin in microwave safe bowl. Microwave on high for about 20 seconds. Let the gelatin cool off a little bit before poring it to the cream. Add the gelatin to the whipped cream slowly and beat on high until the whipped cream becomes more firm. Cover it and refrigerate over night.
Day 3
On the day of the party, take Cake 1, spread whipped cream on it, then place Cake 2 (with ice cream) on top. Place the whole cake back in the freezer until about 30 minutes before serving.
About 30 minutes before serving the cake, take the cake out, spread the rest of the whipped cream on top and the sides. Place decorations and candles on the top and ENJOY!